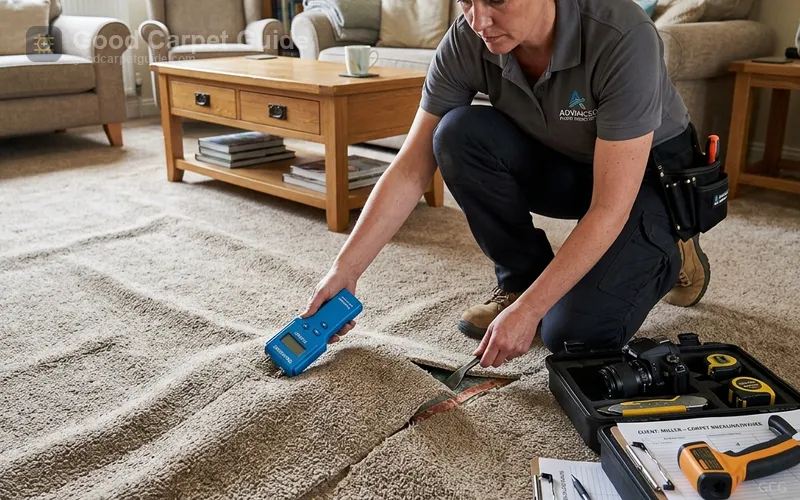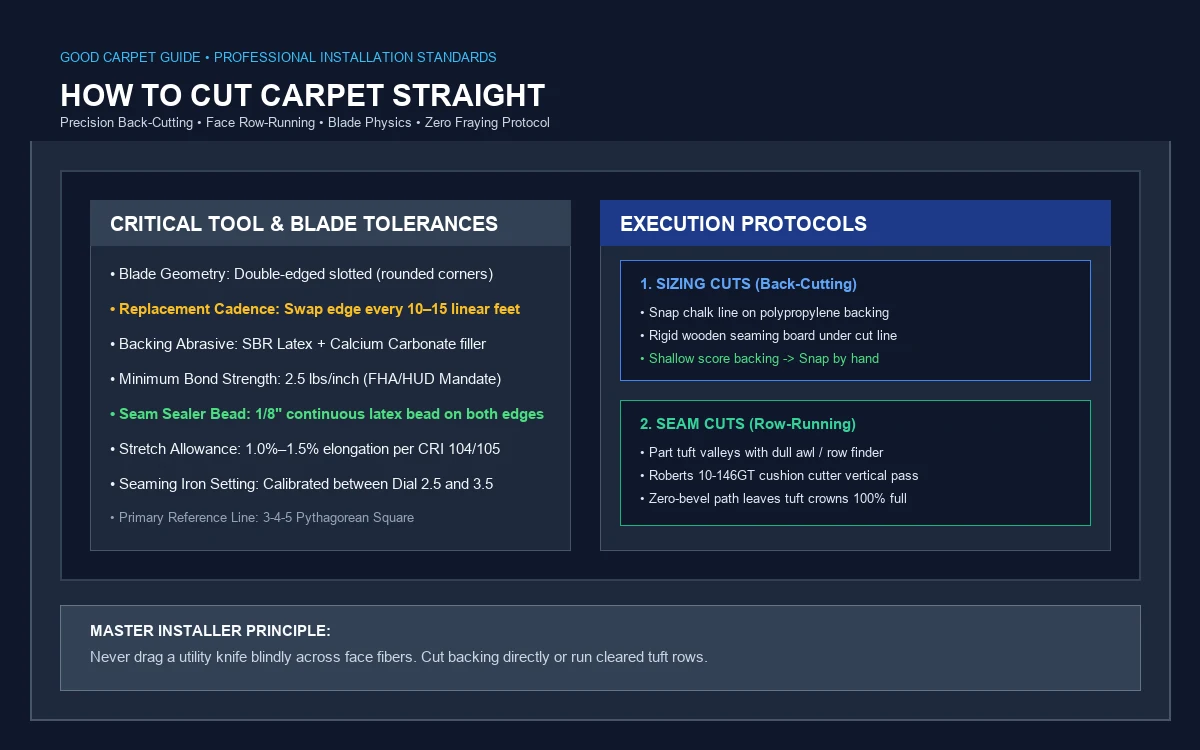
How to cut carpet straight comes down to one mechanical distinction: you separate the pile between rows of tufts instead of slicing blindly through them. Cutting carpet straight is a backing-first operation, not a face-first one — the line lives in the jute or polypropylene backing, and the pile simply falls where the backing tells it to. On our job sites, the difference between a seam that disappears and one that reads as a scar six months later almost always traces back to which side of the carpet the blade actually touched first.
That distinction sounds small until you've watched two crews cut the same roll two different ways. One crew back-cuts from the jute, snaps the score line by hand, and the pile at the edge stays rooted and full. The other crew flips the carpet face-up and drags a box knife straight through the pile, and within a week the traffic pattern shows a thin bald line right where the blade skated across the tuft crowns. This guide walks through both cutting directions — back-cutting for sizing, face-cutting for seams — along with the tool selection, wall and stair sequencing, and the specific tolerances that keep a cut line invisible once the carpet is stretched in.
Why standard utility knives ruin straight carpet cuts
A standard trapezoidal utility blade is built for drywall and cardboard, not for tufted pile. The wedge geometry on a blade like the Stanley 1992 is thick enough that it shears through pile crowns rather than gliding down between them, which is why DIY cuts along a chalk line so often come out bald and jagged at the edge. In our destructive seam tests, that shearing action doesn't just fray the visible edge — it drags loose fiber into the cut path, and the drag compounds with every additional foot.
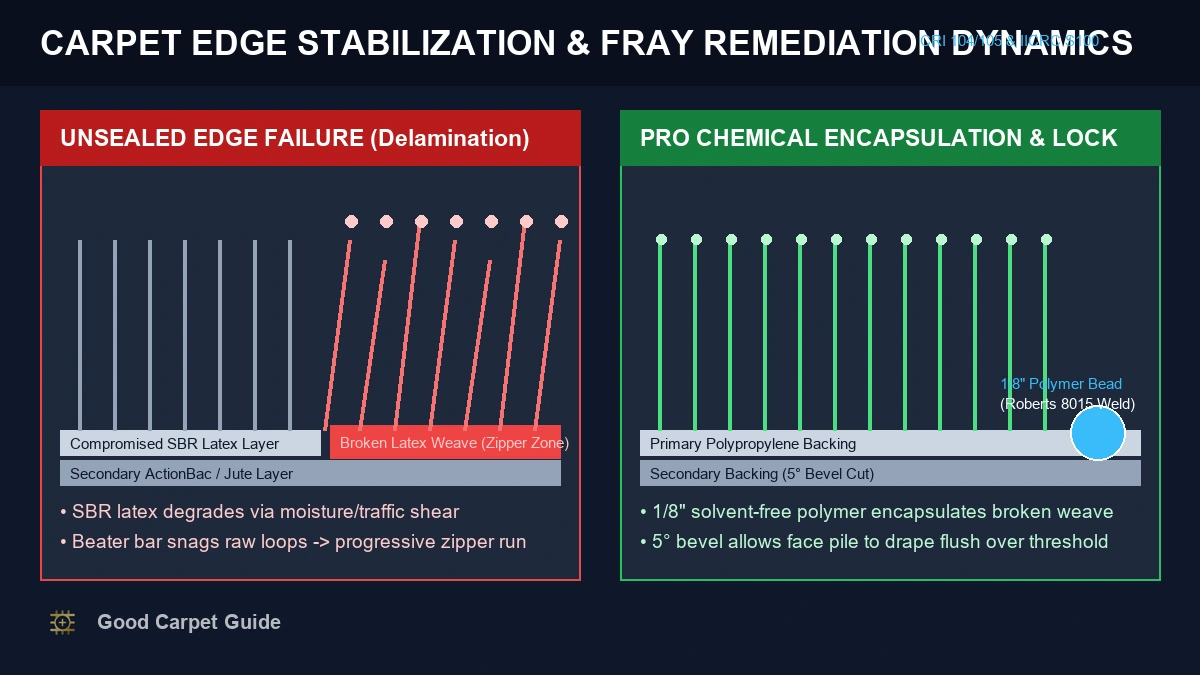
The backing itself works against a dull edge, too. Styrene-butadiene rubber (SBR) latex pre-coat and secondary backing laminates are loaded with calcium carbonate filler — ground limestone and marble dust used as bulk filler — which behaves like a fine industrial abrasive against blade steel. A fresh edge dulls fast against that filler, and the forensic symptoms show up in a predictable order: first the blade starts dragging instead of slicing, then the carpet bunches ahead of the cut, then the edge frays, and finally you'll see a chalky white latex powder shedding off the backing as the dull edge grinds rather than parts the fibers. When we inspect failed DIY installations, that white dust on the subfloor is usually the first thing we check for — it tells us the whole job was cut on one blade.
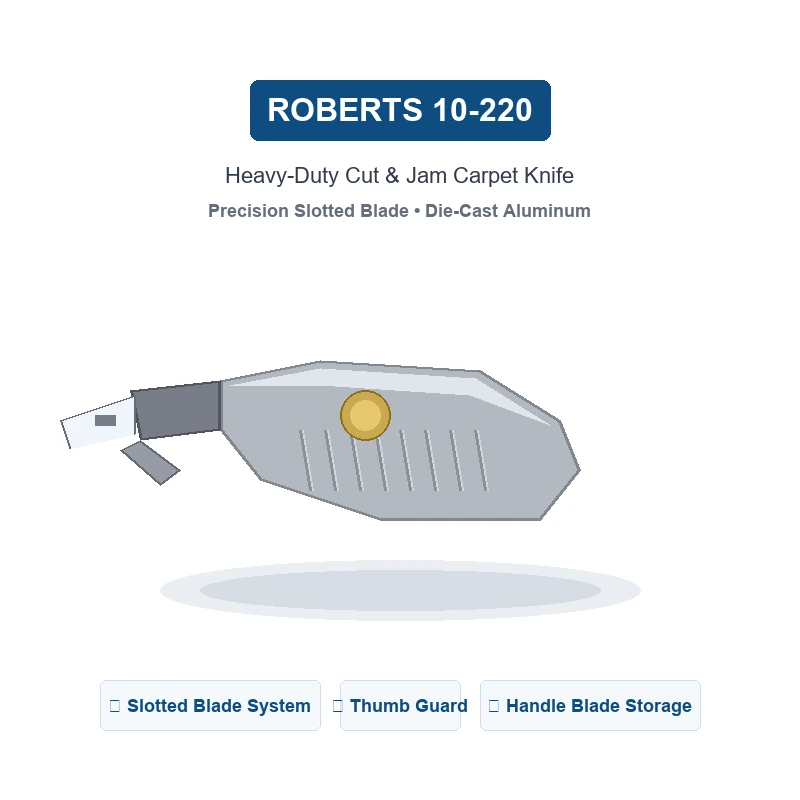
ROBERTS 10-220 Cut & Jam Carpet Knife
Professional die-cast aluminum carpet knife featuring precision slotted blade angle, thumb guard, and handle blade storage.
Check Price on AmazonThere's a structural cost to pushing a dull blade through backing, too. A blade that's lost its edge exerts lateral shear force well past the FHA-mandated minimum bond strength of 2.5 lbs/inch between primary and secondary backing, and that shear force is enough to physically separate the two layers — inter-laminar delamination — right along the cut line. Once that bond fails, no amount of seam sealer fixes it; the backing has to be re-laminated or the section re-cut further in.
We see the same failure pattern on almost every callback for a "seam that opened up." The homeowner assumes the tape failed or the glue was bad, but pulling the seam apart usually shows a delaminated edge underneath — the backing layers separated during the original cut, and the seam only held together as long as the adhesive was doing work the backing itself should have been doing. There's no repair for that short of re-cutting a clean edge further into the roll and re-seaming from scratch, which is why blade condition gets checked before anything else on a callback inspection.
Essential carpet cutting tools and blade taxonomy
The tool decides the outcome before you ever pull the blade through the backing. Every installer's kit separates into a handful of categories, and mixing them up is the single most common reason a DIY cut goes crooked.
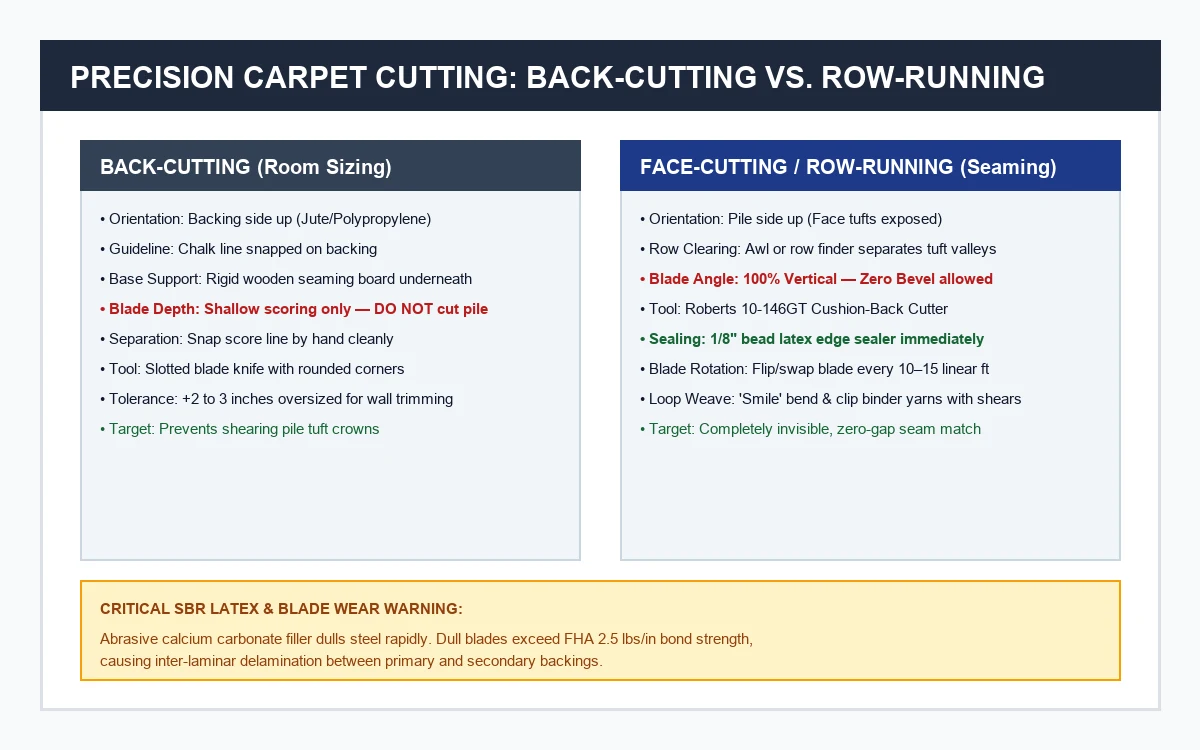
Double-edged slotted blades are the backbone of back-cutting work. Personna 61-0140 and Stanley 11-525 blades, along with Better Tools 20101N and Traxx TXB-0017, are ground with rounded corners specifically so a tip doesn't gouge a wooden subfloor or dig into concrete when you're scoring shallow. The slotted design lets the blade seat into a knife's slot at a fixed depth, so you're not eyeballing how deep you're pressing on every pass.
Carpet knives are the general-purpose face tool. A Crain 725 Deluxe Carpet Knife or a Roberts 10-220 Cut & Jam Knife holds a hooked or straight blade for trimming pile and backing where you need more control than a row cutter offers — perimeter work, patch repairs, small adjustments.
Row-running and splicing cutters are what actually produce a straight seam through loop and cut pile. A Roberts 10-146GT or 10-146-3 Cushion-Back Cutter runs a 30-degree dual-blade press-fit block that rides down a single row of tufts, splitting the backing between rows instead of across them. Crain 366/367 tools and the UFS5400 Carpet Row Finder do the companion job of physically locating and clearing that row before the cutter runs it.
Wall trimmers and shears finish the perimeter. A Roberts 10-617GT Wall Trimmer rides the wall-to-floor angle and trims flush in one pass, while a set of Tego 12-inch heavy-duty offset duckbill shears handles the individual snips a wall trimmer can't reach — corners, obstructions, Berber binder yarns.
Blade replacement standard: flip or replace the edge every 10 to 15 linear feet of SBR latex cutting. We set a rule on our crews that nobody cuts past that mark without swapping — it's cheaper than re-cutting a delaminated seam.
Anyone setting up a modular tile floor to run alongside a rolled section should also review our modular carpet tiles installation guide , since tile and roll cutting use different registration methods entirely.
Step-by-step: how to cut carpet straight from the back (sizing rolls)
Back-cutting is how you size a roll to room dimensions before any seaming happens, and it starts with a measurement taken from the backing side, never the face. Flip the carpet backing-up, or work it face-down on a clean subfloor, and snap a chalk line across the polypropylene or jute using your room measurements plus a margin for trimming.
Slide a rigid wooden seaming board underneath the chalk line before you cut. The board gives the blade a firm, flat surface to score against — cutting over carpet padding or a soft subfloor lets the blade wander and produces a wavy line instead of a straight one.
Score the backing shallowly along the chalk line. The goal is to sever the backing material without cutting through the pile yarns rooted in it — a proper back-cut lets you snap the carpet apart at the score line by hand, with the pile staying intact and undamaged on both sides. If you find yourself sawing rather than snapping, the blade is either dull or you're cutting too deep.
Step-by-step: how to row-cut carpet from the face (precision seaming)
Face-cutting, or row-running, is what produces a seam edge that disappears once two pieces are joined. Before the blade ever touches the carpet, clear the tuft valleys along your intended seam line with a row finder or a dull awl — you're physically separating the rows of pile so you can see where one row ends and the next begins.
With the valley cleared, run a slotted cushion-back cutter down that valley in a single, continuous, vertical pass. The cut has to stay non-beveled — an angled blade path widens the gap between the two carpet edges once they're pulled together at the seam, which shows up as a visible line even after seaming tape and heat are applied.
How to cut Berber and loop pile carpet without zippering
Zippering is what happens when a loop pile seam unravels row by row because a binder yarn got cut instead of cleared — one nicked loop pulls the row next to it, and the run keeps going. Berber and other loop-pile constructions need both seam edges row-run, never cross-cut.
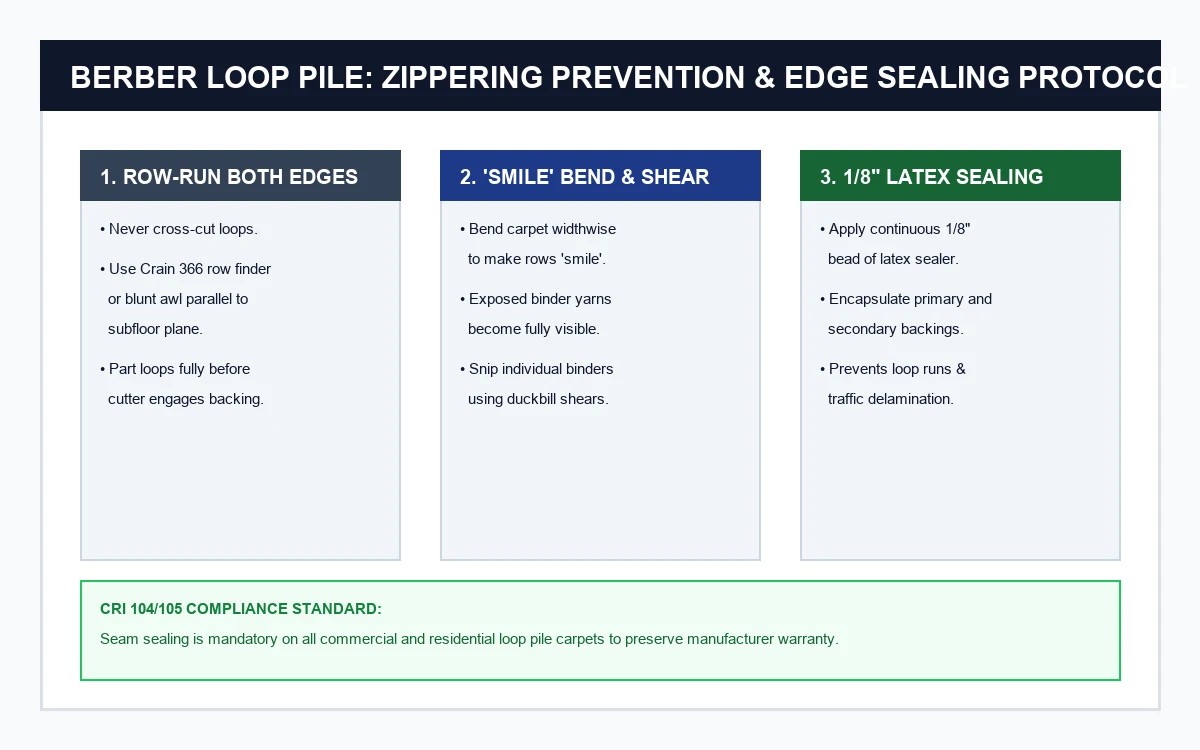
The technique that prevents zippering is bending the carpet widthwise along the seam line until the rows "smile" — the curvature opens up the loop structure and makes individual binder yarns visible instead of buried. From there, clip each binder yarn individually with duckbill shears rather than running a single continuous cut across the row. It's slower than a straight pass, but it's the only way to guarantee you're not severing a structural loop.
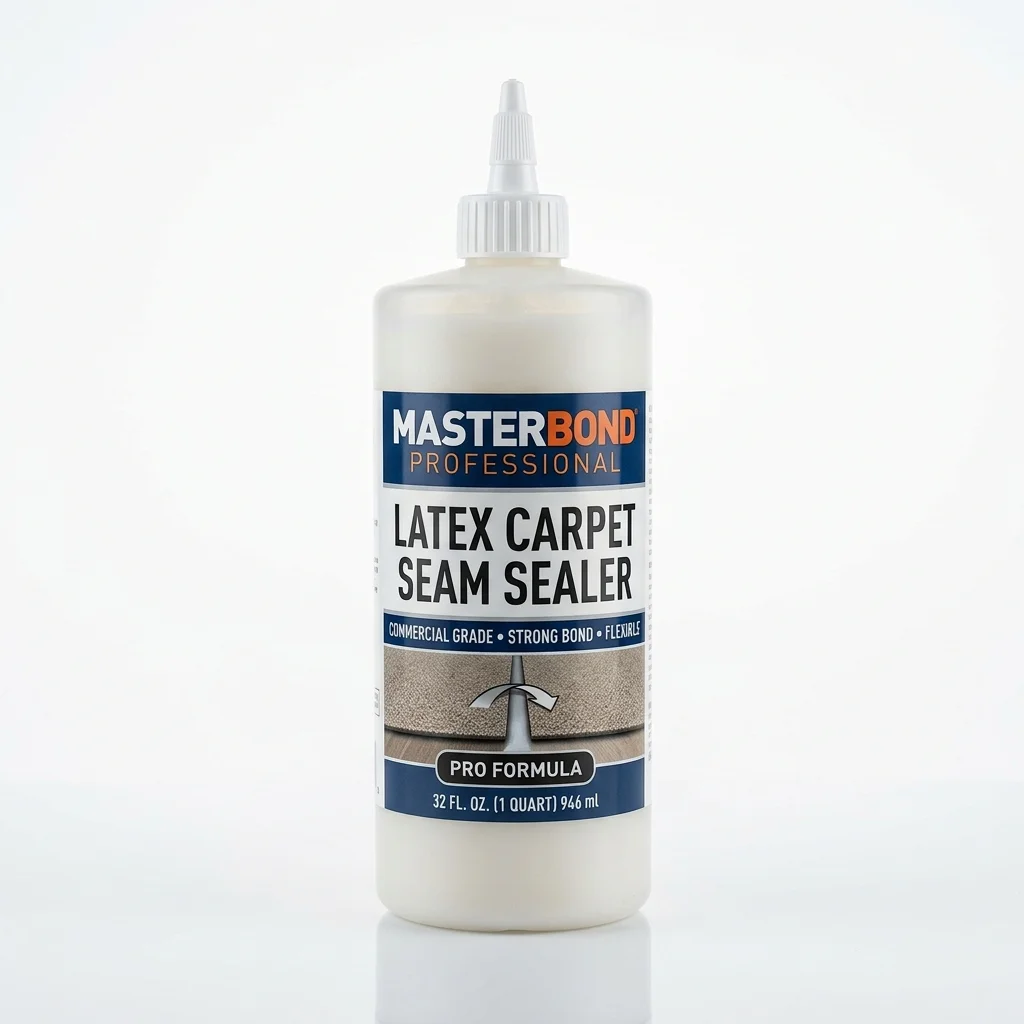
Roberts 8015 Universal Carpet Seam Sealer
CRI Green Label Plus certified solvent-free seam sealer with precision applicator tip for sealing cut carpet edges and preventing loop zippering.
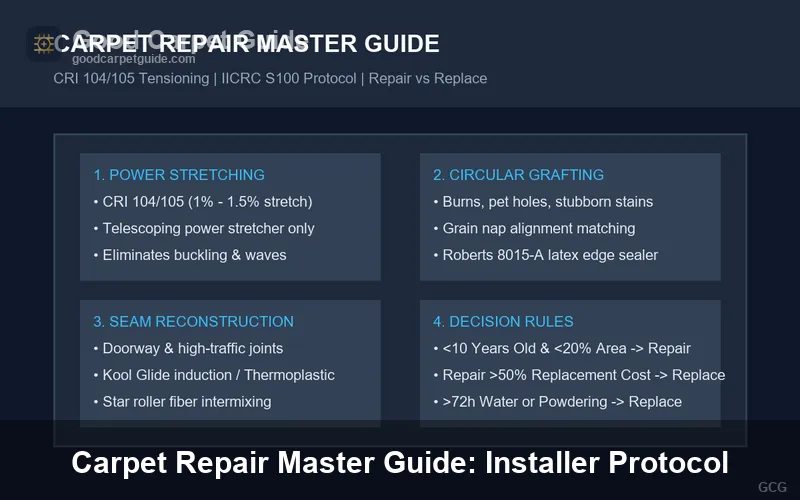
Check Price on AmazonFor seams that have already suffered damage, our carpet seam repair techniques page covers the re-stitching and adhesive process for stopping an active zipper run before it spreads further.
How to cut carpet straight along walls and baseboards
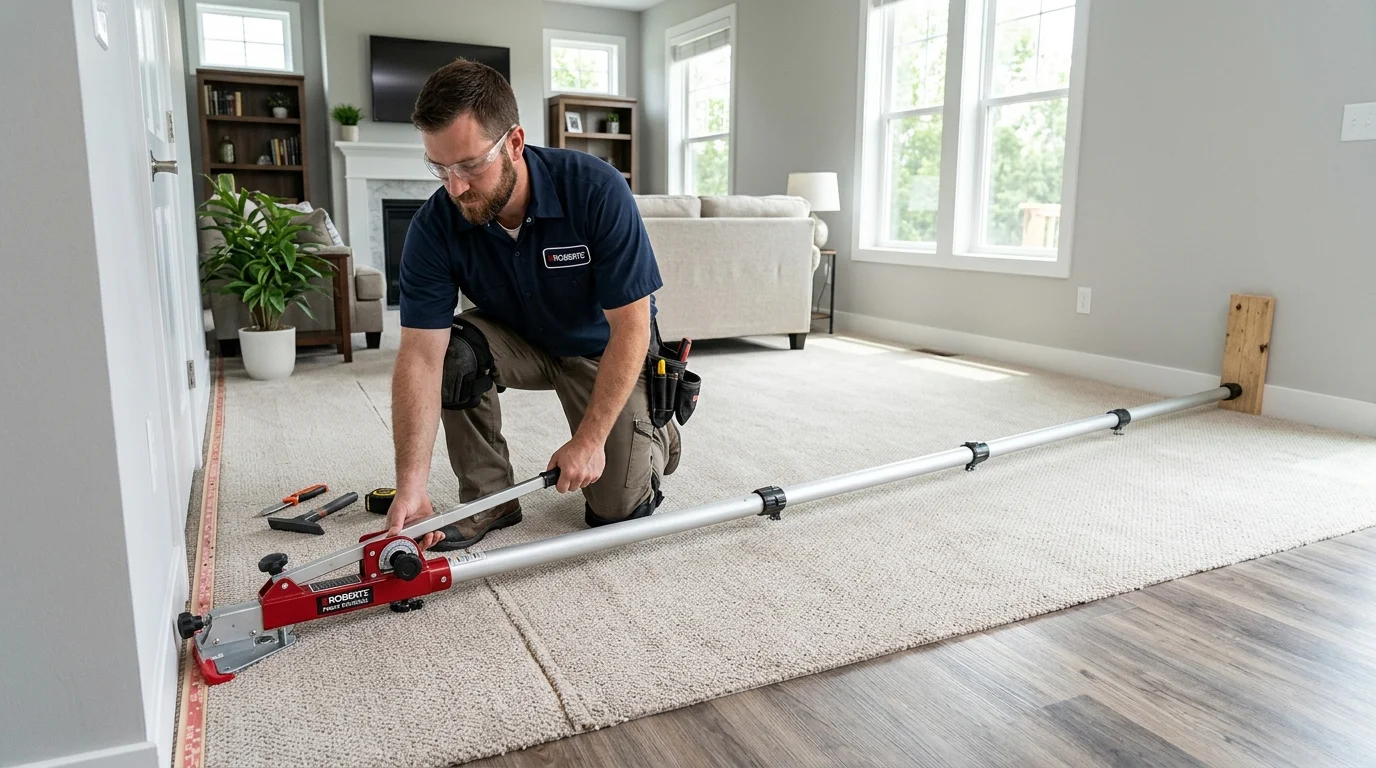
Perimeter cuts have a sequencing rule that trips up almost every first-time installer: never cut carpet flush to the baseboard before power-stretching. Power stretching requires 1% to 1.5% elongation per CRI 104/105 standards, and if the perimeter is already cut tight before that stretch is applied, the carpet snaps back inward once the stretcher releases — leaving a gap along the wall that can't be tucked back under the base or shoe molding.
Cut the perimeter oversized first, power-stretch the field into place, then trim flush against the wall with a wall trimmer for the long runs and duckbill shears for corners and obstructions. Where carpet meets another flooring material at a doorway, transition cutting follows a related but distinct set of tolerances — see our carpet transition strip repair guide for that sequencing.
How to cut modular carpet tiles perfectly square
Modular tile cutting is a geometry problem before it's a blade problem. Out-of-square rooms are the norm, not the exception, so the first move is establishing a primary centerline grid rather than measuring off the existing walls. We lay that grid using the 3-4-5 Pythagorean method — A² + B² = C² — to confirm a true 90-degree reference line before a single tile goes down.
Working off that squared centerline, perimeter cuts should measure at least half a tile width wherever possible; a border row narrower than that reads visually uneven and is more prone to lifting at the edge. Tile edge cutting requires a fresh blade tip on every third tile to slice through rigid PVC or modified bitumen backings cleanly.
How to cut carpet straight on stairs and tight transitions
Stair cuts compound every tolerance already covered here, because each tread and riser is its own small back-cut and face-cut problem stacked on a tight radius. Measure and back-cut each stair section individually rather than trying to carry one continuous cut down the flight — the backing tension changes at every nose and riser, and a single long cut will drift off-line by the third or fourth step.
Use the same row-running discipline at the stair nose seam that you'd use on a flat seam, and keep a fresh blade edge in rotation specifically for stairs — the tighter cut radius burns through an edge faster than the 10-to-15-foot flat-run standard. On a waterfall or cap-and-band stair install, plan for an extra 2 to 3 inches of material per tread beyond the measured tread-and-riser dimension; that margin is what lets you seat the carpet into the tackless strip at the back of the tread and still have clean material left to wrap the nose without the cut line creeping visibly off-center.
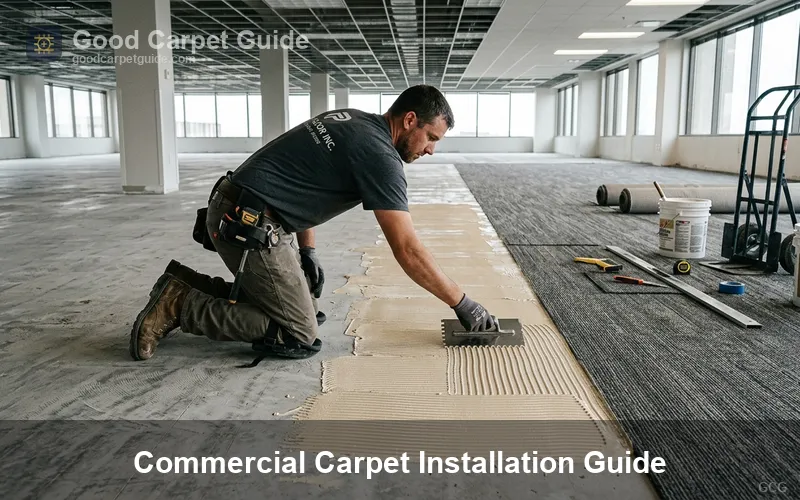
Commercial stairwells and high-traffic transitions often call for glue-down methods rather than stretch-in, which changes the cutting sequence since there's no power-stretch step to account for slack. Our commercial carpet installation protocols cover that decision point in more depth, including when a glue-down stair warrants a different blade rotation schedule than a stretch-in flight.
Frequently asked questions about cutting carpet straight
What's the difference between back-cutting and face-cutting carpet?
Back-cutting scores the backing material from behind to size a piece to a room, while face-cutting (row-running) separates pile rows from the front to create a seam edge. Sizing work uses back-cuts; seams use face-cuts.
How often should I change my carpet blade?
Flip or replace the edge every 10 to 15 linear feet when cutting SBR latex-backed carpet. Waiting longer risks the delamination and fraying that come with a dulled edge.
Why does my carpet seam look frayed even after using seam tape?
Fraying almost always starts at the cut, not the seaming step. A beveled or shear-cut edge (instead of a straight row-run) leaves loose fiber ends that seam tape can't bind down.
Do I need to seal a carpet edge after cutting it?
Yes. Apply a continuous 1/8-inch bead of latex edge sealer across both the primary and secondary backing immediately after cutting to lock the fibers before the edge sees foot traffic.
What iron temperature should I use for seaming after cutting?
Set the seaming iron between dial 2.5 and 3.5. Running hotter than that risks scorching latex backing or pad; running cooler risks an incomplete bond at the seam.
Can I use a regular utility knife for carpet cutting?
Not for precision work. A standard trapezoidal blade's wedge shape shears pile crowns instead of gliding between tufts, producing the jagged, frayed edges typical of DIY cuts.