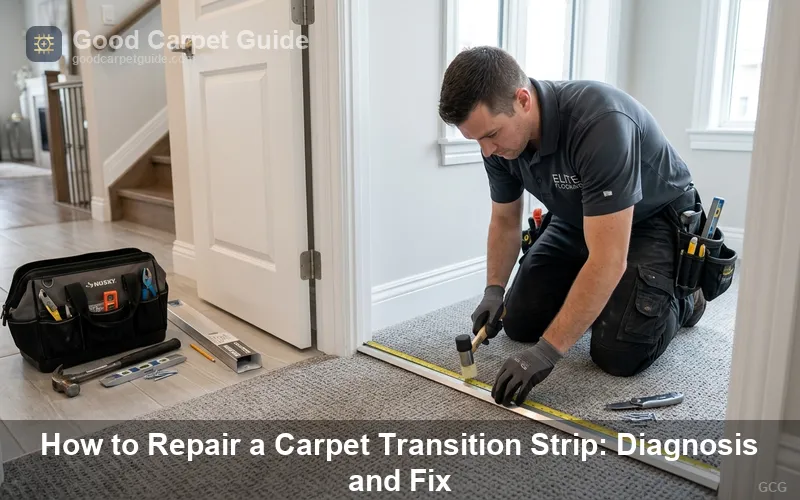
Safety notes before you start
• Exposed tackless strip pins at a failed transition can puncture a bare foot. Wear sole-protective footwear before touching a loosened threshold.
• Pry bars used on aluminum tap-down bars store spring tension. Release pressure incrementally so the bar does not snap upward.
• Masonry nails and concrete anchors under a metal transition can shatter on removal and throw fragments. Wear safety glasses for any concrete-set threshold.
• Do not seal a floating floor's transition line with a rigid polyurethane bead. Locking the perimeter restricts thermal expansion and can buckle the field.
Carpet transition strip repair: technical overview
Repairing a carpet transition strip means restoring the mechanical grip between the tackless strip or metal bar and the carpet backing, then re-anchoring that assembly to the subfloor. The work falls into two categories: reseating a loosened metal bar over existing carpet, and full replacement of a fatigued or split bar. The correct repair depends on why the strip failed, which is not always obvious from how the strip looks from above.
Three failure mechanisms account for most residential callbacks: aluminum fatigue in tap-down bars, fastener pull-out from concrete or wood subfloors, and void collapse beneath an unsupported transition lip. Each mechanism produces a different visible symptom and requires a different repair path. This guide sequences the work by diagnosis first, then removal, cutting, reinstallation, and cost, following the order a flooring inspector would use on a service call. This threshold procedure integrates with our carpet repair master guide for comprehensive subfloor and edge restoration.

A flattened tap-down channel no longer clamps the carpet edge, the first visible sign that carpet transition strip repair is overdue.
How to remove a carpet transition strip
Removing a carpet transition strip starts by identifying the fastening method before applying any use. Tap-down aluminum bars are held by masonry nails, wood screws, or a continuous adhesive bead, and each requires a different removal angle.
For nailed or screwed bars, insert a flat pry bar under the raised lip at the bar's midpoint rather than at the end, and lift in small increments across the full length. Lifting from one end first bends the bar and can snap embedded fasteners flush with the subfloor, which then requires a nail punch and pilot hole for removal. Bars set in a construction adhesive such as PL Premium do not lift cleanly. Score along both edges with a utility knife first, then work a stiff putty knife under the bead to shear the adhesive.
Where the bar covers a tackless strip, remove the transition metal before touching the tackless strip itself. Tackless strip pins pull out at a shallower angle than the metal bar, so combining the two removal steps increases the chance of a broken pin remaining embedded in the subfloor.
How to fix a carpet transition strip
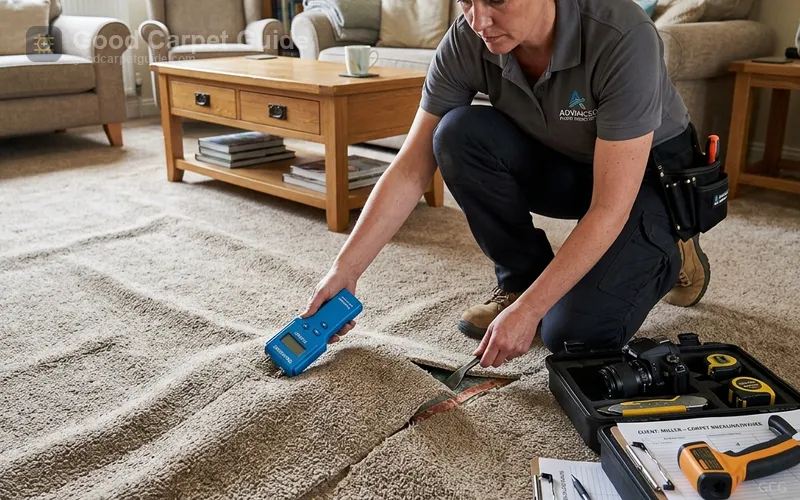
A loose carpet transition strip is fixed by first determining whether the metal itself has failed or only the fastening has failed, because the two faults require different repairs. A fatigued tap-down bar cannot be re-tightened back to working condition; the aluminum has already deformed at the bend line and the bar must be replaced.
The mechanism behind this failure is metal fatigue. Installers bend the tap-down flange over the carpet edge with a mallet during installation, and that bending stresses the aluminum at the fold. Under repeated foot traffic and rolling loads from vacuum wheels or furniture casters, the flange gradually loses its clamping force and flattens permanently. A flattened flange will not hold a new fold. Re-bending it in the same location usually causes the metal to crack and split.
A bar that is still straight but rocking under foot pressure usually has a fastener problem instead of a metal problem. Over concrete, this is frequently spalled masonry around the anchor points rather than a stripped screw. If the carpet split extends across the entire opening, see our guide on how to fix carpet seam in doorway . The fix differs by substrate:
| Symptom | Likely cause | Repair action |
|---|---|---|
| Bar flattened, carpet slipping out of channel | Aluminum fatigue from repeated tap-down cycles | Replace the bar; do not re-bend |
| Bar straight but rocking, wood subfloor | Screw pull-out from repeated flex | Re-drive with a longer screw offset 1/2 inch from the original hole |
| Bar straight but rocking, concrete subfloor | Spalled or cratered masonry around the anchor | Patch with hydraulic cement, then re-anchor with a polyurethane construction adhesive |
| Bar bows upward at the center only | Void beneath the lip; padding stops short of the carpet edge | Insert a plywood or carpet-pad shim before re-securing |
The last row addresses a defect many consumer guides skip. Carpet padding conventionally stops short of the carpet's cut edge, leaving a hollow void directly under the transition lip. Foot pressure on an unsupported lip causes the bar to bend and eventually crack at that exact point, independent of the metal's fatigue life. Peeling back the carpet and inserting a scrap-padding or plywood shim under the lip before re-fastening removes the unsupported span and stops the recurring crack.
How to cut a carpet transition strip
A carpet transition strip is cut to length with a hacksaw or a fine-tooth metal-cutting blade. Avoid tin snips, which compress and burr the flange edge that must grip the carpet. For straight aluminum or brass bars under 2 inches wide, clamp the bar face-down in a miter box, mark the cut line, and use a fine-tooth metal-cutting blade to limit burring.
For a curved transition, such as a rounded kitchen island border, replace the entire bar instead of patching it. A tap-down bar under a curve holds its clamping tension across the full arc; splicing a straight offcut into a curved run leaves a seam where the clamp force drops to zero, and carpet will work loose at that seam. Where a curved bar has split, remove the full arc and re-cut a new bar to the same radius using a series of short relief cuts (spaced roughly every 3/4 inch) along the back flange, which lets the metal bend without folding.
Undercut door jambs and casings with an oscillating multi-tool before cutting the transition bar to fit. Undercutting the jamb slightly above the transition's finished height lets the bar's cut end slide beneath the trim, which removes the visible gap that otherwise gets filled with caulk or vertical quarter-round.
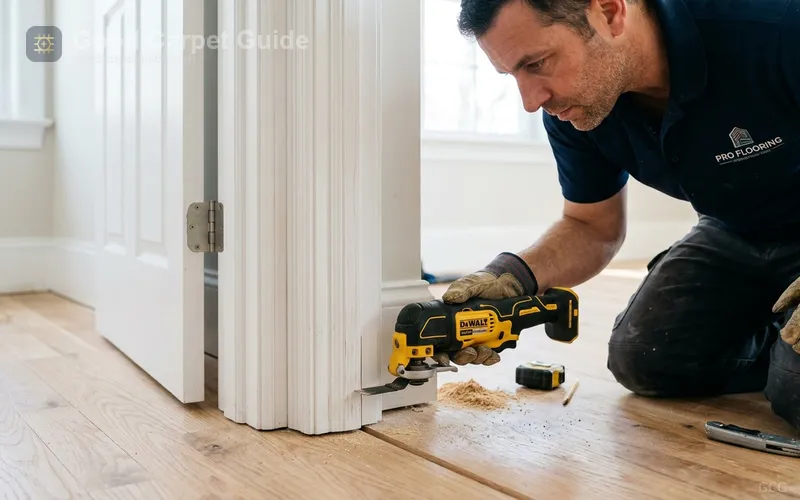
Undercutting the jamb before the final transition cut avoids the caulked or trimmed gap that appears when installers cut the strip short.
How to install a carpet transition strip
Installing a carpet transition strip requires seating the tackless strip first, then setting the metal bar over the carpet edge, then locking the carpet into the channel with a stair tool. The sequence matters because reversing the last two steps leaves the carpet backing unsupported when the bar's teeth bite down.
- Seat the tackless strip a short gully width from the finished edge, pins angled toward the wall, referencing our carpet tack strip guide for correct anchor spacing and bevel orientation.
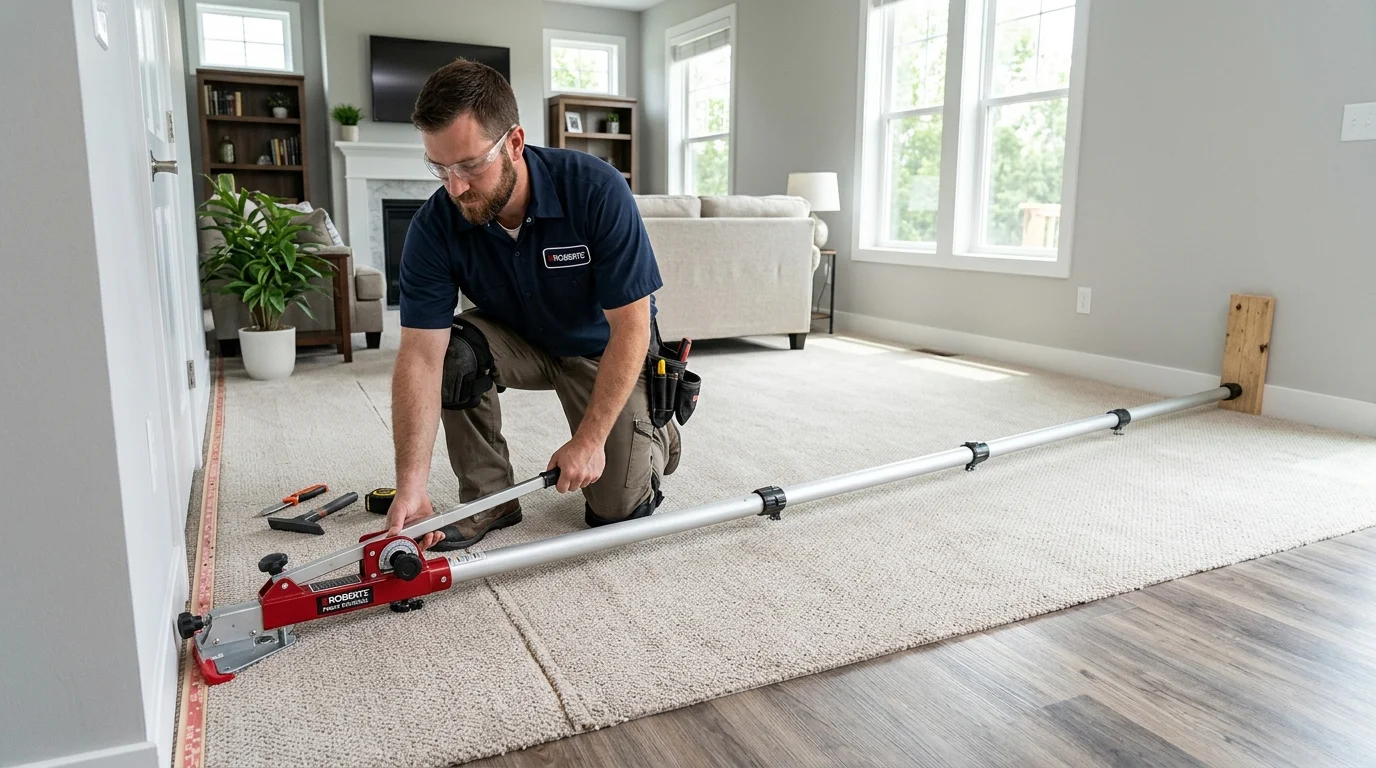
- Pre-stretch the carpet with a power stretcher anchored against the opposite wall so the carpet reaches the transition under even tension. A knee kicker alone produces local compression instead of full-width tension.
- Hook the carpet onto the tackless pins, then trim the excess to within about 1/2 inch of the transition channel using a row runner or carpet knife.
- Tuck the trimmed edge into the channel with a stair tool, working from the center outward.
- Tap down the flange in short sections with a rubber mallet, checking flatness with a straightedge every few sections to catch over-bending before it propagates into a crack.
- Fasten the bar's base to the subfloor per the substrate: wood screws over wood, or a polyurethane adhesive bead over concrete.
How to replace a carpet transition strip
Replacing a carpet transition strip repeats the removal and installation steps above with one addition: inspect the tackless strip underneath and replace it if any pins are bent or if pin spacing has opened up, since a gapped tackless strip is a common root cause of the original failure. A worn tackless strip with fewer working pins per foot cannot distribute clamping load evenly, which concentrates stress on the metal bar above it and shortens its service life independent of the bar's own quality.
When replacing a transition against a newly installed LVP or laminate floor, some manufacturers supply a plastic snap-track designed to let the transition float independently of both adjoining floors. On uneven subfloors, the thin plastic teeth can twist out of alignment so the cap will not lock in. Flooring trade surveys indicate high field failure rates for standard snap-tracks under active residential traffic. One workaround is to discard the snap-track and adhere the transition directly to the subfloor with a polyurethane construction adhesive, which produces a mechanically solid joint but carries a tradeoff worth stating plainly.
The tradeoff is warranty related. Adhering the transition molding directly to the subfloor eliminates the snap-track failure mode. If adhesive migrates beneath the adjoining floating floor, though, it pins that floor's expansion joint. A pinned floating floor cannot move with seasonal humidity swings, and the restrained section can buckle or peak at the nearest seam. A manufacturer may also treat a glued transition as grounds to deny a warranty claim on the adjoining floor, so use this method only with the homeowner's informed acceptance of that risk, and check the specific flooring warranty before proceeding.
How to remove a metal carpet transition strip
A metal carpet transition strip set in concrete is removed by first exposing the anchor points instead of prying blind at the visible seam. Sweep or vacuum any grout or thin-set that has crept over the base flange, then locate each masonry nail or screw head. Back out screws with an impact driver on a low clutch setting to avoid stripping heads that have corroded from slab moisture. Cut nailed anchors flush with a reciprocating saw and metal blade slipped under the flange. Pulling the nails is the step most likely to cause concrete spalling for people attempting the removal themselves.
What kind of transition strip works for laminate to carpet
The correct transition for a laminate-to-carpet junction is a carpet reducer with an integrated gripper edge. A flat T-molding assumes both floors sit at the same finished height, which is rarely true against carpet once pile crush and padding compression are factored in. The reducer's angled face and gripper teeth accommodate the height difference between rigid laminate and compressible carpet pile.
| Transition type | Best substrate pairing | Typical size |
|---|---|---|
| Aluminum tap-down carpet bar | Carpet to carpet, carpet to concrete | 36-inch piece |
| Carpet reducer with gripper edge | Laminate or LVP to carpet | 72-inch piece |
| Anodized aluminum reducer profile | Tile to carpet | 98.5-inch piece |
| Slim color-matched T-molding | Laminate to laminate, LVP to LVP | Varies by profile |
| Turn-and-tack (no visible bar) | Carpet to hardwood, high-end finish | Labor-only, no material bar |
How to choose a transition strip
Choosing a transition strip depends first on the height differential between the two floors, then on color match, because a strip selected for appearance alone will fail structurally if it cannot bridge the actual height gap. Measure the height difference at three points across the doorway width, since subfloor unevenness commonly produces a gap that varies from jamb to jamb.
For a height differential under about 1/4 inch, a slim T-molding is adequate. Between roughly 1/4 inch and 3/4 inch, a sloped reducer keeps the transition within accessibility slope guidelines. Beyond about 3/4 inch, the root cause is usually an over-thick floor leveler or an oversized padding choice, and the underlying subfloor prep should be corrected rather than masked with an oversized transition.
How much does a transition strip cost
Transition strip material runs from roughly $10 for a basic 36-inch aluminum bar to over $80 for a premium stainless steel profile, with installed cost adding labor separately from the material. Standard retail and contractor averages break down as follows:
- Standard aluminum carpet trims: roughly $10 to $18 per 36-inch piece.
- Anodized aluminum reducers: roughly $19 to $23 per 98.5-inch piece.
- Solid brass or brushed stainless steel profiles: roughly $43 to $85 per 98.5-inch piece.
- Vinyl-wrapped MDF: roughly $15 to $25 per 72-inch piece.
Labor typically adds around $140 to $170 per bar for a basic threshold, or roughly $285 to $365 for a full doorway project once tool rental and adhesive supplies are included. Regional labor rates vary widely: lower-cost markets can run at the bottom of that range or below, while high-cost urban markets often run several times higher for the same scope, driven by local labor rates and permit requirements.
Big-box retailers sometimes quote a lower per-square-foot labor rate than independent dealers, then add itemized fees not disclosed in the initial estimate. A separate charge of $90 to undercut a wood door jamb, a task many independent installers fold into the base bid, is one recurring example documented by consumer reports.
How long does a transition strip last
An aluminum tap-down carpet bar often holds its clamp for one to two years of average residential foot traffic before the flange fatigues enough to release. A bar bonded directly to the subfloor with a polyurethane adhesive, bypassing a plastic snap-track, tends to outlast the tap-down mechanical clamp because the failure point shifts from metal fatigue to adhesive bond strength, which degrades more slowly under normal indoor humidity.
Service life shortens under three conditions: heavy wheeled traffic (rolling office chairs, wheeled walkers), high ambient humidity that accelerates aluminum oxidation at the bend line, and undersized tackless-strip pin spacing that concentrates load on fewer clamp points. A single lifespan figure captures none of these factors, which is why on-site inspection of the bend line and fastener condition gives a more reliable read than age alone.
When should you replace a transition strip
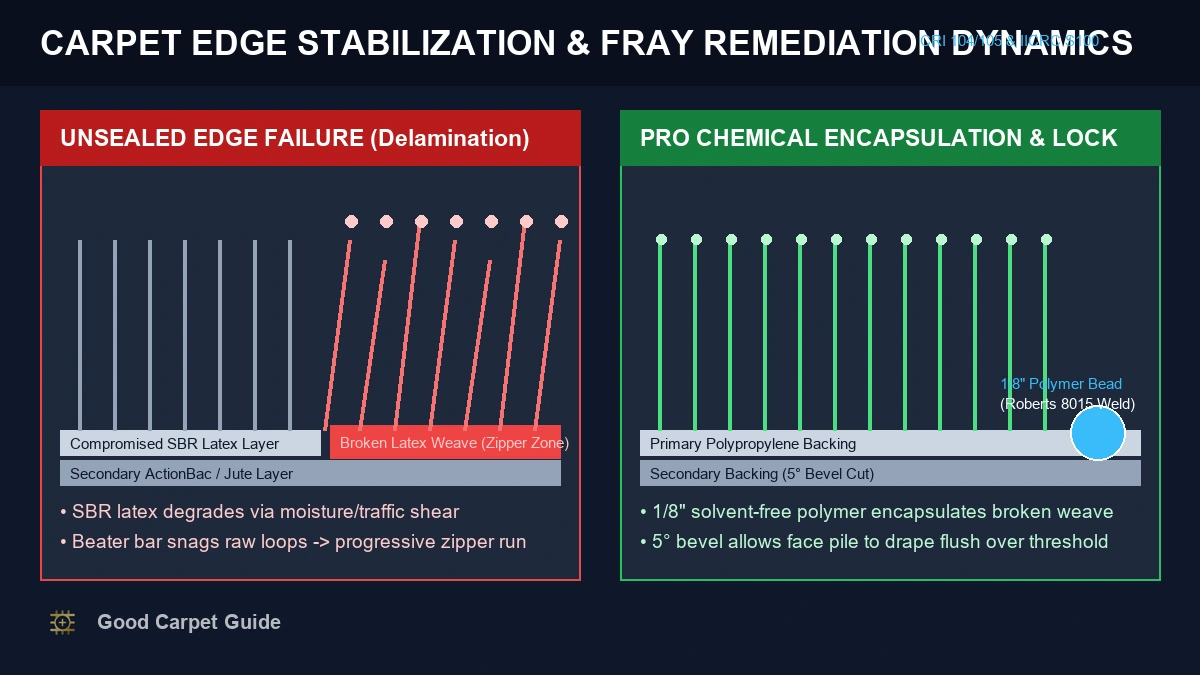
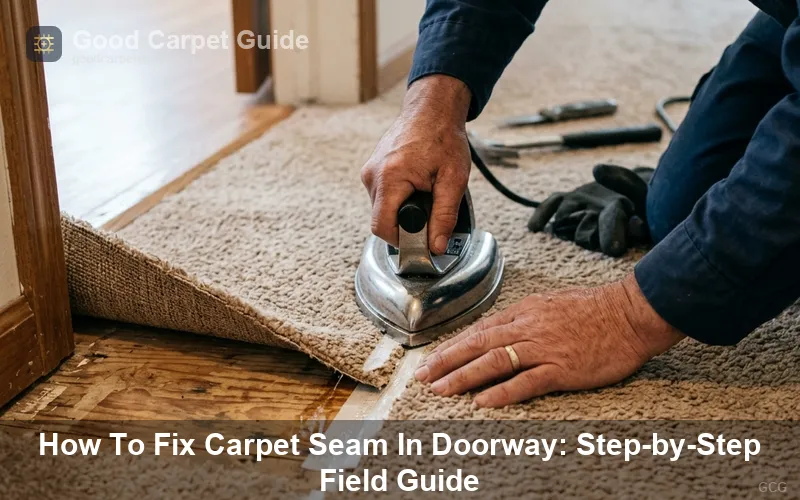
A transition strip should be replaced rather than repaired once the flange shows a visible crack, once the metal has flattened to the point it will not hold a new bend, or once a significant share of the fasteners along its length have failed. Below that threshold, targeted repair (re-fastening, shimming the void, or patching the masonry anchor) is the more cost-effective path, since a full replacement requires removing the adjoining carpet edge and re-tucking it, which risks fraying an already-worn carpet backing. In cases where backing unravels at the boundary, performing a targeted carpet seam repair reinforces the edge before re-clamping.
What homeowners and installers report
Homeowner accounts describe a consistent pattern: transitions installed by low-bid subcontractors tend to fail first, and the failure is frequently a finishing gap rather than a material defect based on installer forum reports. Common complaints include transitions left unfinished, carpet edges left untucked around the door casing, and metal bars that do not match the adjoining flooring. In most of these cases the material itself was serviceable and the shortcut was in the labor.
From the manufacturer side, warranty-mandated plastic snap-tracks are regarded within the trade as the weakest link in a floating-floor transition, prone to twisting out of alignment on subfloors with even minor unevenness per contractor case reviews. This tension between adhesive-only mounting for reliability and warranty compliance for coverage has no single correct answer and should be resolved with the homeowner before the repair begins.
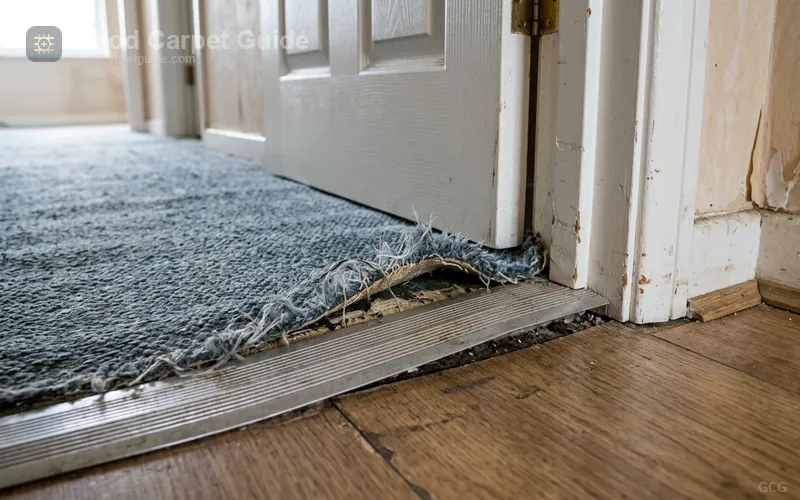
An untucked carpet edge beside a mismatched bar illustrates the finishing shortcuts homeowners report most often from low-bid installers.
What is the difference between transition strip types
The core difference between transition strip types is mechanical function: a tap-down bar clamps carpet by compression, a reducer bridges a height differential by slope, and a T-molding joins two floors of equal height by straddling the seam. Selecting the wrong function for the height and material combination is the single most common cause of premature transition failure, independent of brand or material quality.
What is the best transition strip
The best transition strip depends on the substrate pairing and the finished-height differential, because a bar engineered for tile-to-carpet slope will underperform on a laminate-to-laminate seam and vice versa. For carpet-to-hardwood junctions where appearance matters most, a turn-and-tack finish (folding the carpet edge under itself and stapling it to a tucked-under tackless strip) eliminates the visible metal bar entirely. For carpet-to-concrete thresholds subject to heavy wheeled traffic, a solid aluminum or stainless tap-down bar outperforms thin mass-market aluminum on flange thickness and resistance to the fatigue-crack mechanism described earlier.
Which brand makes the best transition strip
Among flooring professionals, specialty manufacturers of anodized aluminum and stainless reducer profiles such as Schluter Systems are most often cited for tile and stone transitions, while slim color-matched laminate and LVP trims from makers like Versatrim are usually chosen when the flooring manufacturer does not supply a matching profile. These specialty lines compete on precision tolerance and finish consistency, and both sit above mass-market lines on per-unit cost. When a flooring brand supplies its own matching transition, that profile is usually the safest choice for keeping the warranty intact.
Repair or replace: a decision path
A bent flange that still holds a straight edge can be re-fastened. A flattened or cracked flange cannot, because the aluminum has already failed at the bend line and re-tightening will not restore its clamping force. Check the void beneath the lip before closing up any repair; an unsupported gap under the transition is the single most overlooked cause of a bar that keeps failing in the same spot no matter how many times it gets re-fastened. For a laminate-to-carpet threshold, replace a plastic snap-track system with a direct adhesive bond only after confirming with the homeowner that this may void the flooring manufacturer's warranty on the adjoining floor.
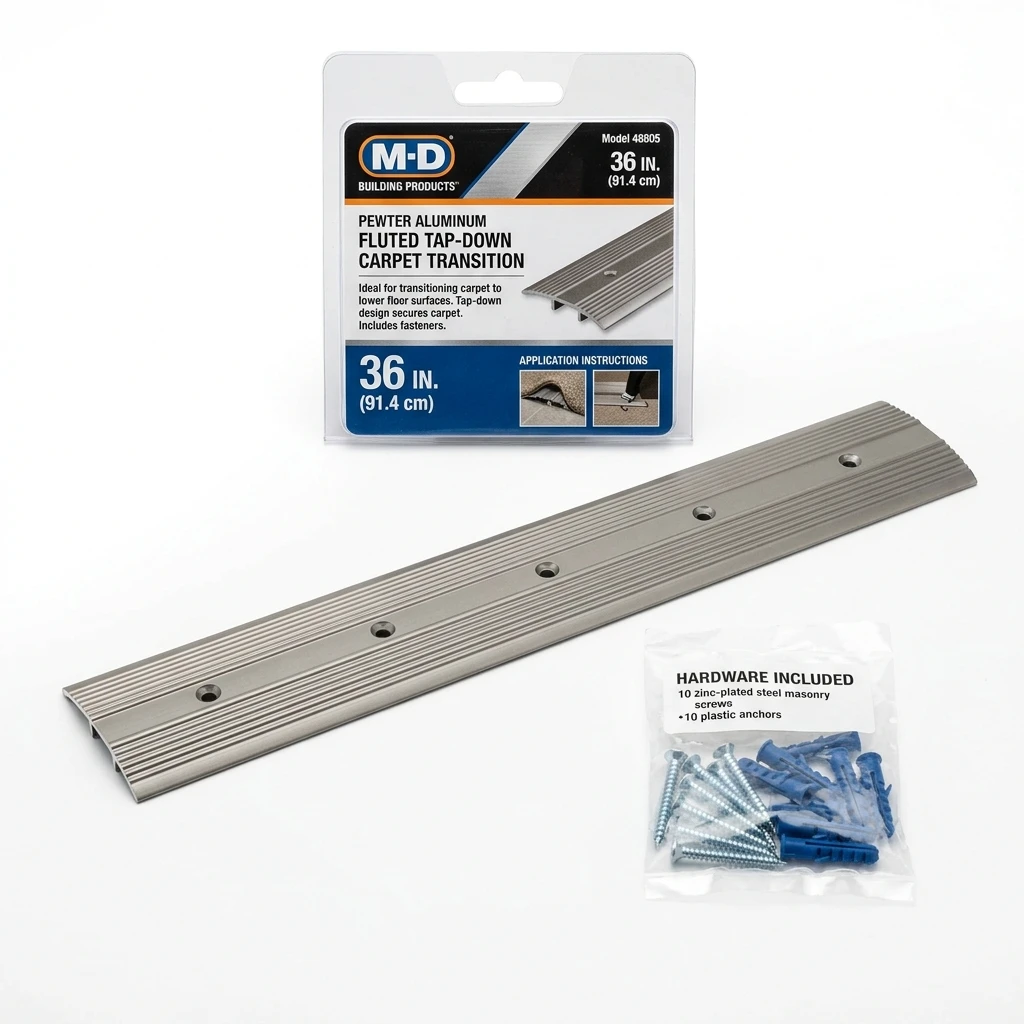
M-D Building Products Aluminum Carpet Trim
Standard tap-down aluminum bar for carpet-to-carpet or carpet-to-concrete transitions.
Check Price on Amazon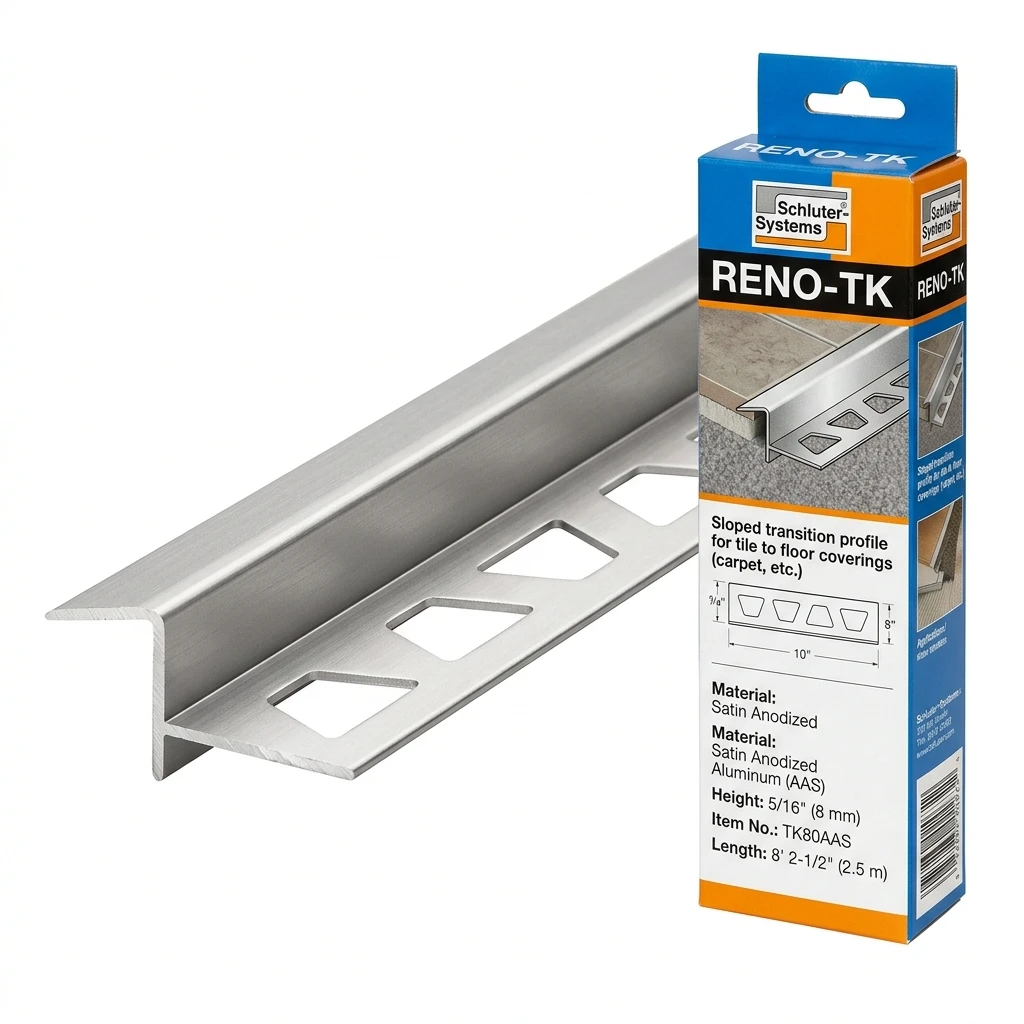
Schluter RENO-TK Reducer Profile
Anodized aluminum reducer profile for tile-to-carpet height transitions.
Check Price on Amazon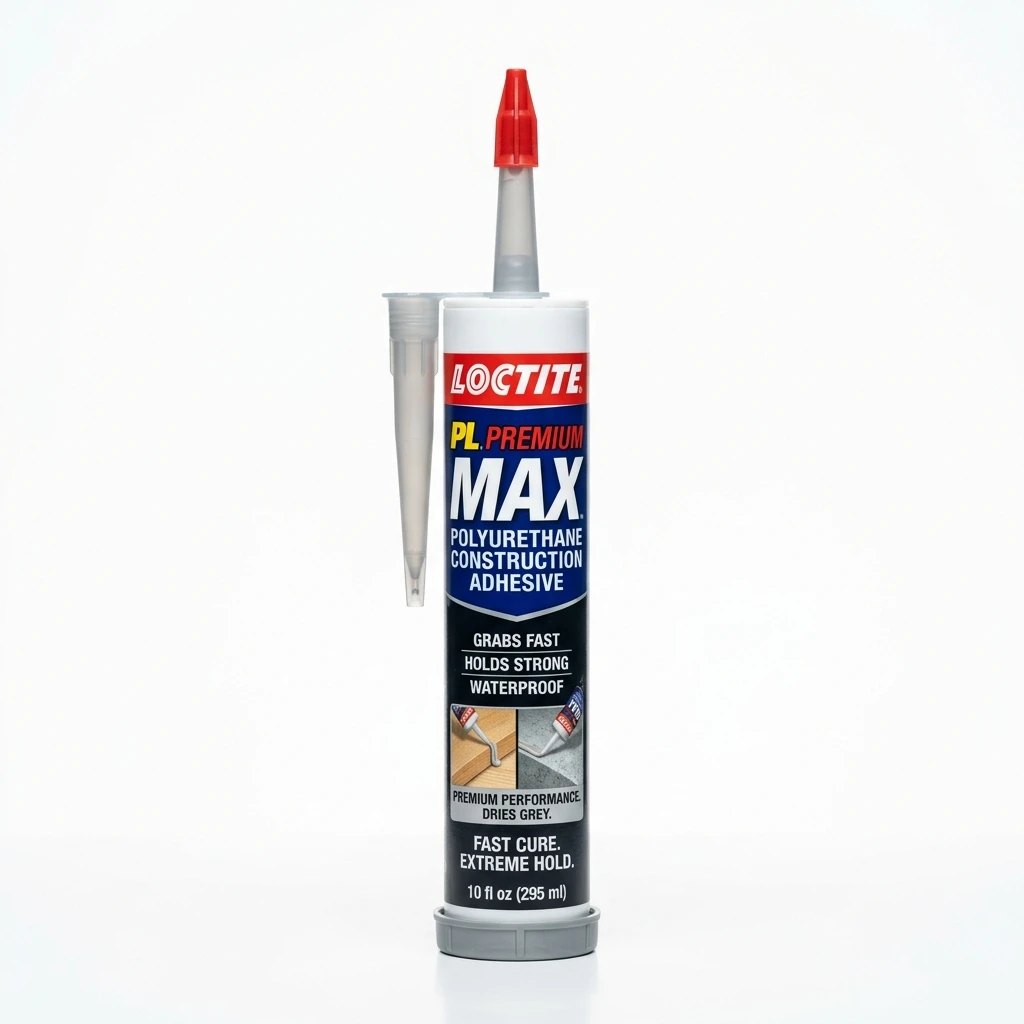
PL Premium Polyurethane Construction Adhesive
High-strength adhesive used to bond transition moldings directly to wood or concrete subfloors.
Check Price on Amazon