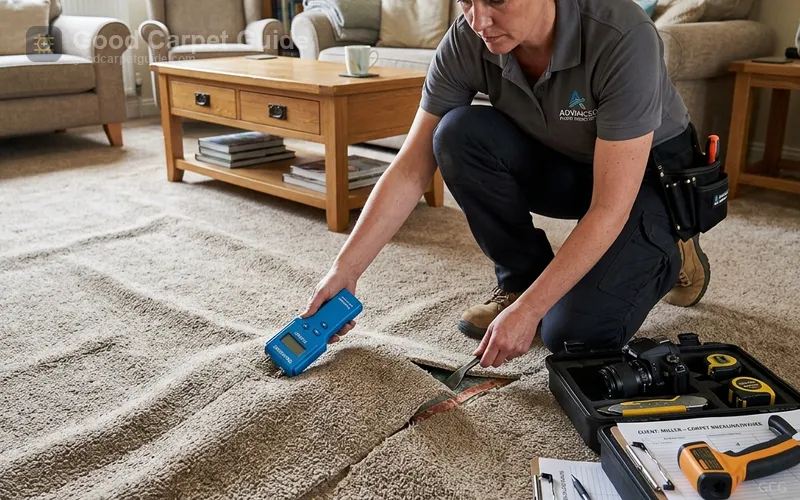
Carpet buckles, ripples, and waves are not cosmetic flaws. They represent mechanical failure in the tension system holding wall-to-wall carpet flat against the subfloor. When a residential carpet develops wrinkles, the primary backing and secondary polypropylene scrim have lost their tensioned grip on the perimeter tackless strips. Walking over these loose waves accelerates fiber crush, fractures the internal latex adhesive matrix, and creates severe trip hazards for household residents.
Homeowners frequently ask if they can restretch carpet themselves without hiring a flooring contractor. The direct answer is yes, provided you use the proper equipment and follow strict tension geometry. Most do-it-yourself attempts fail within six months because homeowners rely exclusively on an inexpensive knee kicker. A knee kicker only generates localized surface movement within two to three feet of the head. It cannot pull the uniform drum-tight tension required across an entire room span.
According to the Carpet and Rug Institute CRI 105 Standard for Installation of Residential Carpet, broadloom carpet requires power stretching that achieves an exact 1.0% to 1.5% elongation in both length and width. Achieving this mechanical stretch requires a lever-driven power stretcher braced against an opposing wall. In this field manual, we break down the forensic causes of carpet loosening, tool rental logistics, the four-wall quadrant tension sequence, and step-by-step execution protocols to flatten your flooring permanently.
The forensic physics of carpet buckling: why broadloom loosens
To eliminate carpet ripples permanently, you must first understand the structural dynamics that caused the material to slacken. Carpet is not a single sheet of fabric. It is an engineered composite assembly consisting of four distinct layers:
- Face Yarn: The visible nylon, polyester, triexta, or wool tufts that experience foot traffic.
- Primary Backing: A woven polypropylene grid into which the face fibers are tufted with industrial needles.
- Laminating Compound: A thick coating of styrene-butadiene rubber (SBR) latex compound that locks the tufts into the primary backing.
- Secondary Backing: A woven synthetic jute or polypropylene mesh (ActionBac) bonded to the back with additional latex to provide dimensional stability.
+-------------------------------------------------------------+
| FACE FIBERS (Nylon, Polyester, Triexta, or Wool Tufts)      |
+-------------------------------------------------------------+
| PRIMARY BACKING (Woven Polypropylene Scrim)                |
+-------------------------------------------------------------+
| SBR LATEX LAMINATING ADHESIVE (Tuft Bind & Moisture Barrier)|
+-------------------------------------------------------------+
| SECONDARY BACKING (ActionBac Polypropylene Scrim)           |
+-------------------------------------------------------------+
                              |
                     [Tension vectors pull]
                              v
+-------------------------------------------------------------+
| PERIMETER TACK STRIP PINS (60-Degree Angled Steel Anchors)  |
+-------------------------------------------------------------+
When new carpet is installed, tension applied across the room pulls the secondary backing taut. Over time, four distinct environmental and physical factors degrade this tension:
1. Inadequate initial installation stretch
Over 80 percent of residential carpet buckling traces back to original installer error. High-volume tract housing installers and discount retail sub-contractors frequently install broadloom using only a knee kicker to save time. A knee kicker applies only 80 to 120 pounds of lateral thrust per impact. This force is insufficient to stretch the dense backing beyond its initial elasticity threshold. As people walk across the floor, the unstretched synthetic fibers relax into normal ambient slack, creating visible ripples within 12 to 24 months.
2. Relative humidity and temperature swings
SBR latex adhesive and synthetic polypropylene backings respond directly to thermal and hygroscopic variations. When indoor relative humidity spikes above 65 percent during summer months, synthetic backing materials absorb ambient moisture and expand slightly. If the carpet was installed during cold, dry winter weather without mechanical power stretching, this summer thermal expansion produces prominent waves. Conversely, running an air conditioner or whole-home dehumidifier can temporarily shrink the ripples, leading homeowners to believe the problem resolved itself until the next humid front hits.
3. Delamination of the latex adhesive layer
When moisture penetrates into the backing assembly from pet accidents, aggressive wet shampooing, or flooding, the water breaks down the calcium carbonate fillers within the SBR latex adhesive. The bond between the primary backing and secondary scrim dissolves. Flooring inspectors term this structural failure carpet delamination . Once the two backings separate, the face fabric floats independently over the secondary mesh, forming soft bubbles that no amount of perimeter stretching can cure.
4. Heavy furniture dragging
Pushing heavy dressers, loaded bookcases, or sectionals across wall-to-wall carpet exerts extreme lateral shear stress on the backing. The concentrated weight forces the carpet forward while the perimeter tack strips hold the edges, ripping the backing away from the pins or tearing the internal latex matrix. Always lift furniture completely off the floor or place rigid plastic moving slides beneath legs before repositioning.
Equipment selection: power stretcher vs knee kicker vs manual tools
Selecting the proper tools determines whether your restretching repair holds for a decade or collapses back into ripples within weeks. You do not need to purchase thousands of dollars in commercial tooling, because commercial tool rental depots offer professional units on daily rates.
| Tool Name | Mechanical Role | Lateral Force Applied | When To Use |
|---|---|---|---|
| Power Stretcher | Primary tension engine | 400 to 650+ lbs | Entire room restretching, spans over 10 ft |
| Knee Kicker | Positioning and hook-assist | 80 to 130 lbs | Hooking corners, closets, tight entry thresholds |
| Carpet Tucker | Edge finishing wedge | Manual hand force | Packing excess pile into the tack strip gully |
| Wall Trimmer / Cutter | Excess pile removal | Razor blade shear | Cutting excess backing without slicing baseboards |
| Seam Sealer | Thermoplastic edge protection | Chemical bonding | Sealing cut edges to prevent edge fraying |
The power stretcher: the non-negotiable machine
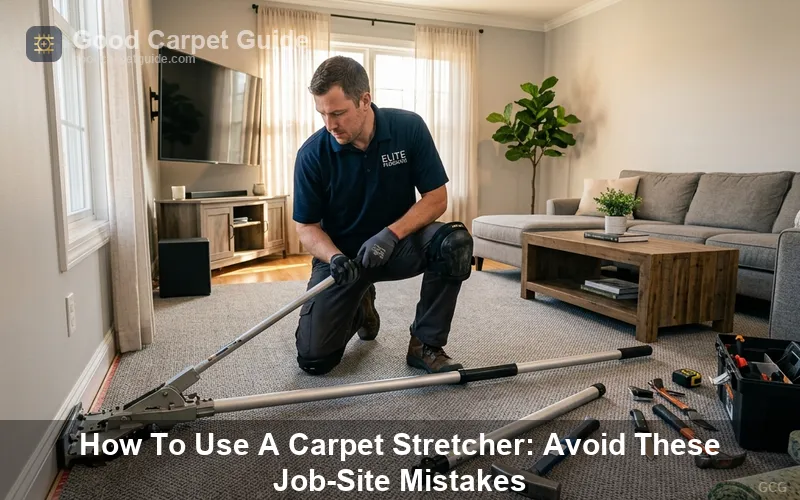
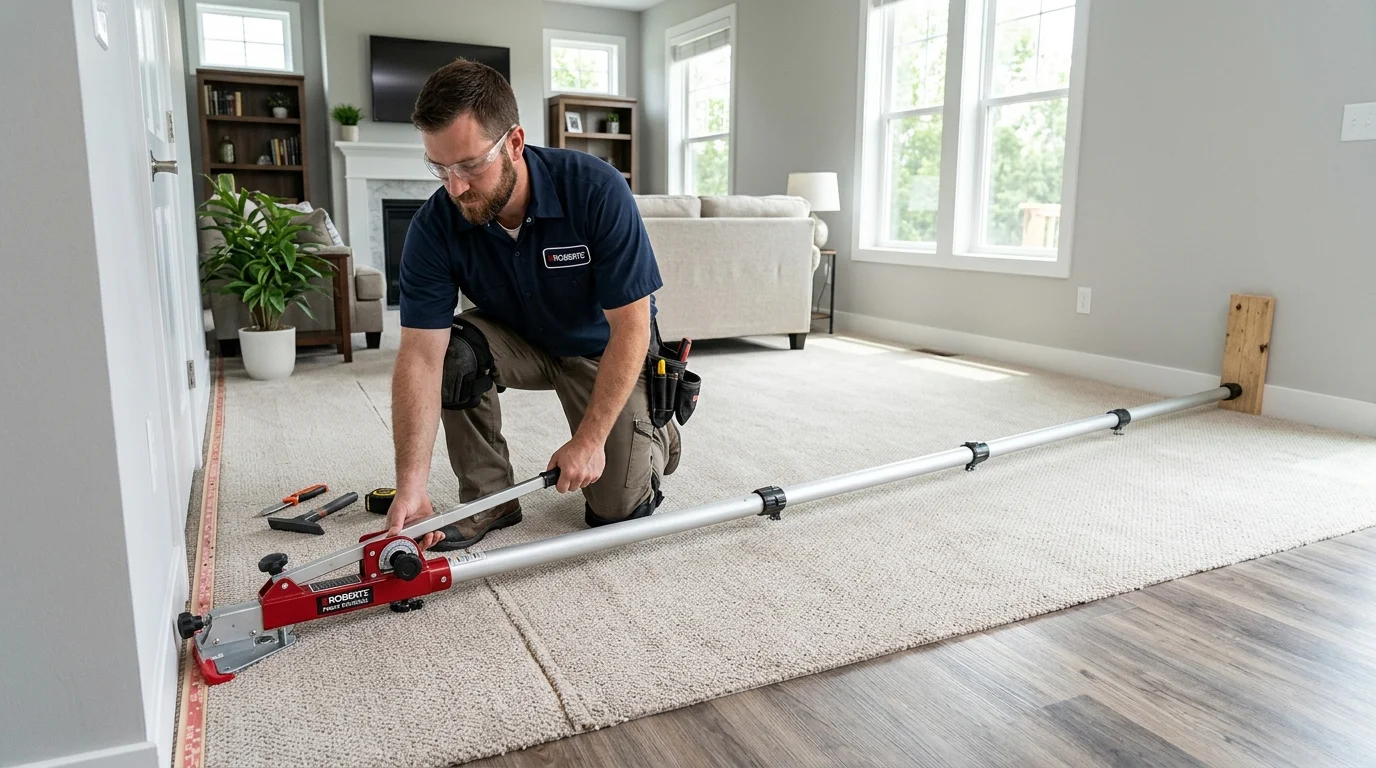
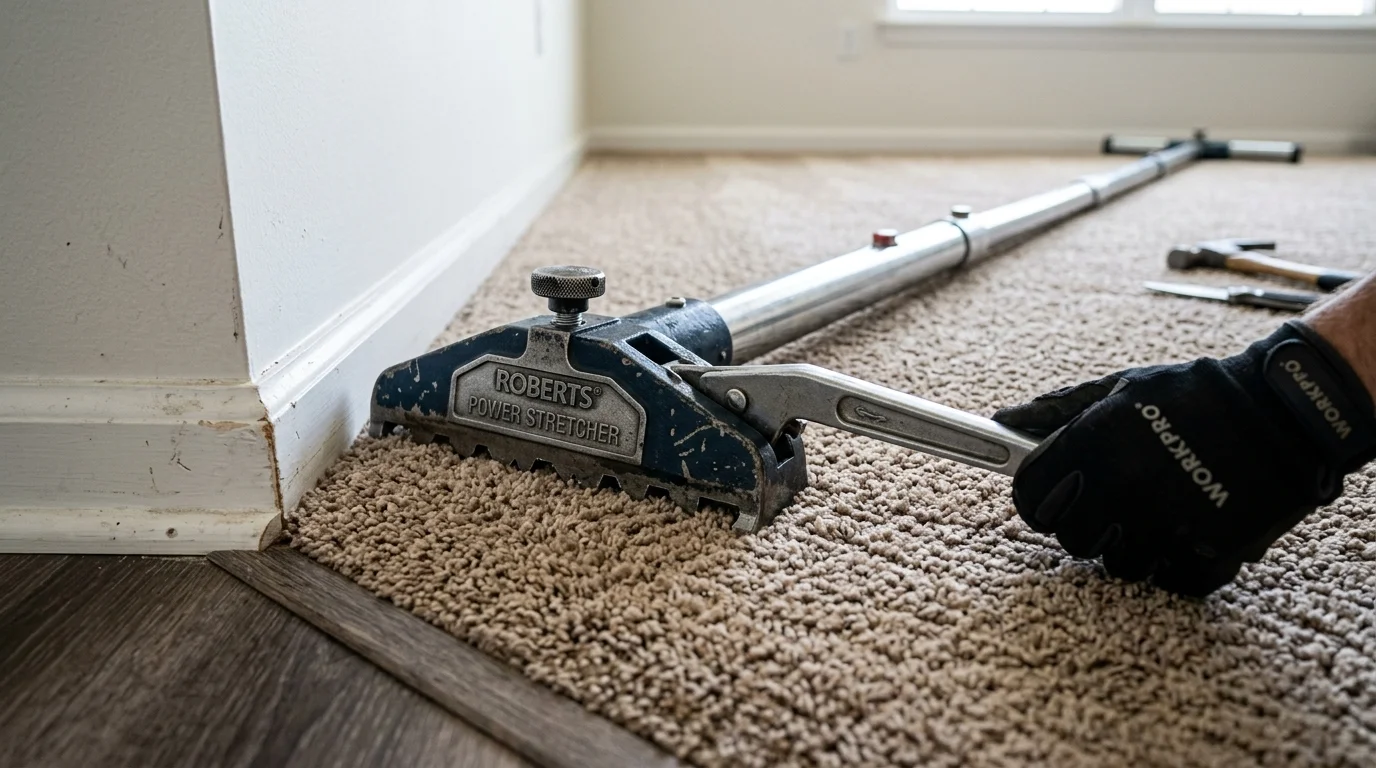
A power stretcher consists of an adjustable head equipped with hardened steel pins, sectional tubular steel extension rods, an intermediate lever handle, and a padded tail block. The tail block rests against an anchored baseboard or exterior wall plate across the room. As you depress the mechanical lever handle, the internal linkage multiplies your downward arm force into hundreds of pounds of straight horizontal pull.
This mechanical advantage pulls the entire room assembly uniformly toward the target wall. Pin depth on the power stretcher head is adjustable via a rotating dial. You must calibrate the pin depth so the teeth engage the woven secondary backing without puncturing through into the underlying carpet padding.
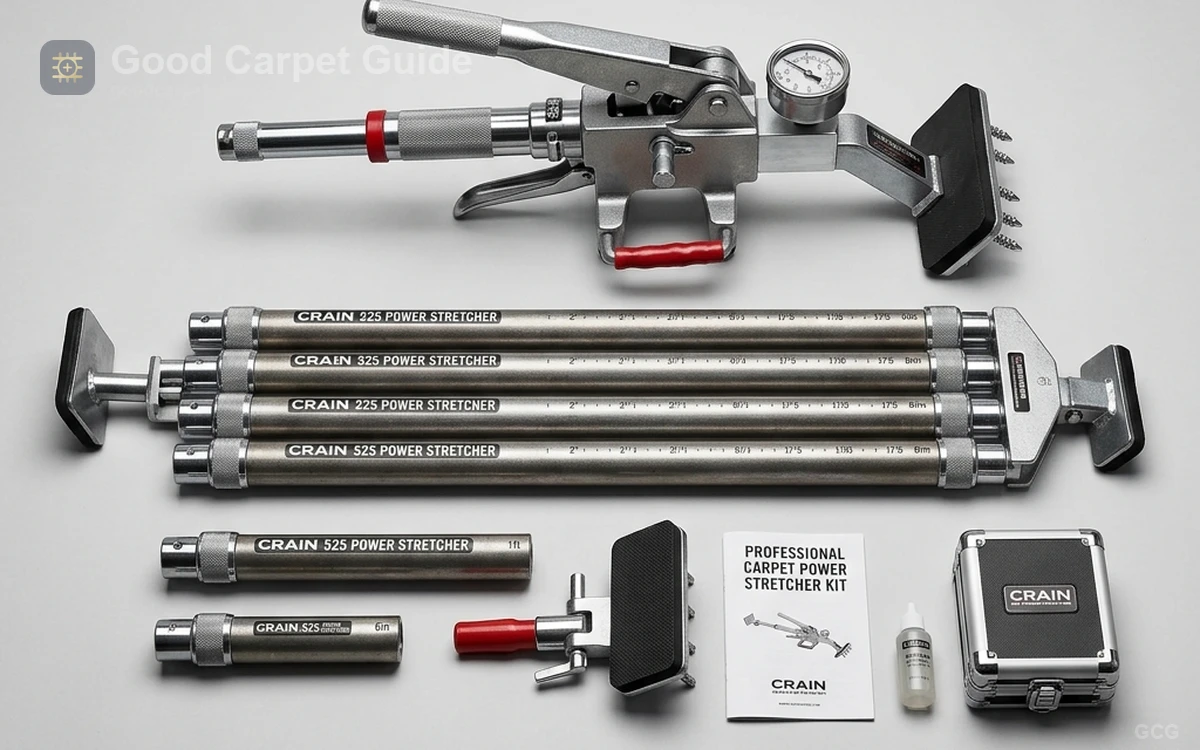
Roberts 10-254 Power-Lok Carpet Stretcher Kit
Heavy-duty commercial lever-action power stretcher with extension tubes and durable carrying case engineered for residential broadloom restretching.
Check Price on AmazonThe knee kicker: positioning tool, not stretching engine
A knee kicker features an aluminum body with an adjustable toothed head at one end and a dense foam bumper pad at the other. The operator grips the shaft, embeds the teeth into the carpet near the perimeter, and drives their quadricep directly into the bumper pad.
In residential DIY work, the knee kicker serves two legitimate purposes:
- Shifting the carpet sideways a fraction of an inch to align seams or patterns.
- Forcing the carpet edge firmly down onto the angled steel pins of the tackless strip while the power stretcher holds tension.
Using a knee kicker to stretch an entire room is physically punishing and structurally ineffective. Orthopedic medical data confirms that chronic knee kicker impacts cause micro-trauma to the patellar tendon, meniscus tears, and lower back disk compression. Let the mechanical use of the power stretcher do the work.

Roberts Pro Knee Kicker with Foam Bumper
Adjustable pin depth knee kicker with high-density foam bumper engineered for perimeter positioning and anchoring broadloom onto tackless strips.
Check Price on AmazonCrucial finishing tools: trimmers and tuckers
Once the carpet is pulled past the tackless strip, you will have between one half inch and two inches of excess backing overlapping the baseboard. Cutting this strip with an ordinary utility knife risks slicing through your painted baseboard or cutting the carpet too short, causing it to pop off the pins.
A professional cushion back cutter or specialized carpet trimmer rides against the baseboard molding, scoring the backing at the exact height needed. Following the trim, a dull-edged carpet tucker (stair chisel) wedges the raw cut edge downward into the architectural gap between the baseboard and the tack strip, known as the tucking gully.
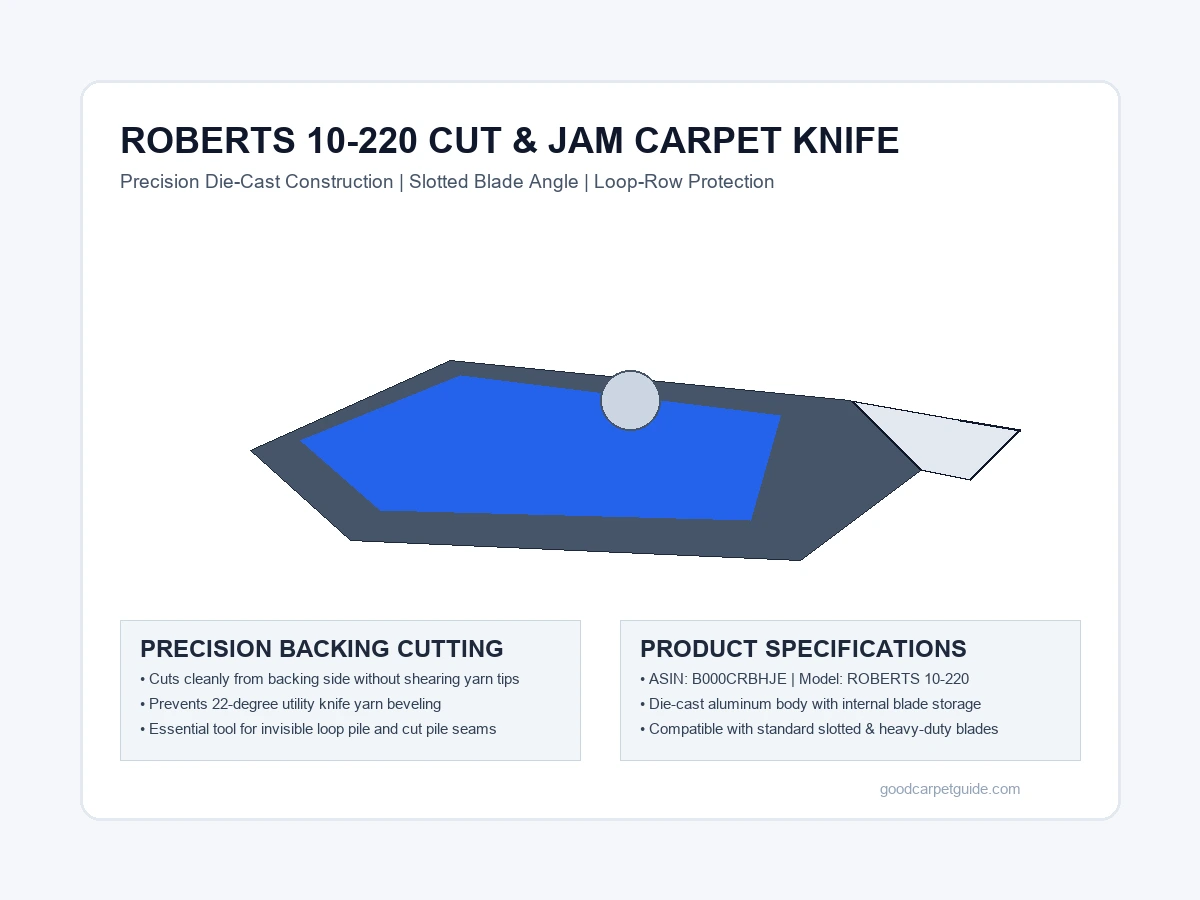
Roberts Cushion Back Cutter and Trimmer
Specialized dual-edge carpet trimming tool designed for clean perimeter cuts along baseboards without damaging wall paint or molding.
Check Price on Amazon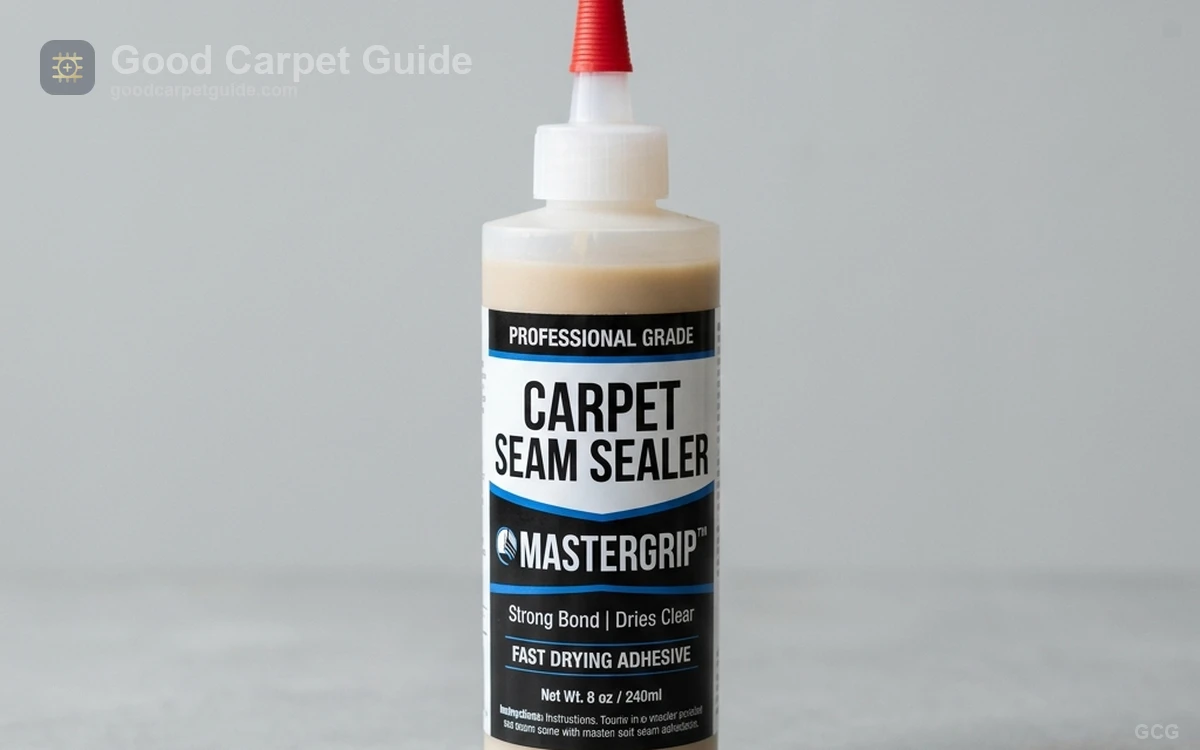
Roberts 8015 Universal Carpet Seam Sealer
Solvent-based commercial latex bonding adhesive that seals raw backing scrim threads to prevent unraveling and perimeter edge fraying.
Check Price on AmazonTool rental economics: DIY costs vs professional contractor fees
Before undertaking this project, calculate the financial trade-offs between equipment rental and professional labor rates. Carpet restretching is among the highest-return DIY home repairs because professional labor pricing carries significant minimum trip charges.
+-------------------------------------------------------------+
| RESTRETCHING COST COMPARISON (15x18 ft Living Room)         |
+-------------------------------------------------------------+
| PROFESSIONAL FLOORING REPAIR CONTRACTOR                     |
| - Trip charge & inspection fee:         75 -125          |
| - Labor rate per room restretch:        150 -250         |
| - Seam repair & doorway transition fee: 50 -90           |
| TOTAL OUT-OF-POCKET:                    275 -465         |
+-------------------------------------------------------------+
| DIY TOOL RENTAL & CONSUMABLE PATH                           |
| - Power stretcher rental (24 hours):    35 -48           |
| - Knee kicker rental (24 hours):        18 -24           |
| - Seam sealer adhesive bottle:          12 -15           |
| - Heavy-duty slotted blades & tucker:   14 -18           |
| TOTAL OUT-OF-POCKET:                    79 -105          |
| TOTAL HOMEOWNER SAVINGS:                196 -360 (70%+)  |
+-------------------------------------------------------------+
Tool rental depots at major hardware centers (Home Depot Tool Rental, Lowe's, Sunbelt Rentals, or local independent equipment yards) rent full power stretcher sets in molded plastic cases with four three-foot extension tubes, auto-locking head, and tail block for roughly 38 dollars for four hours or 52 dollars for 24 hours. If you prepare the room completely before picking up the equipment, you can execute a three-room restretching project within a single 24-hour rental window.
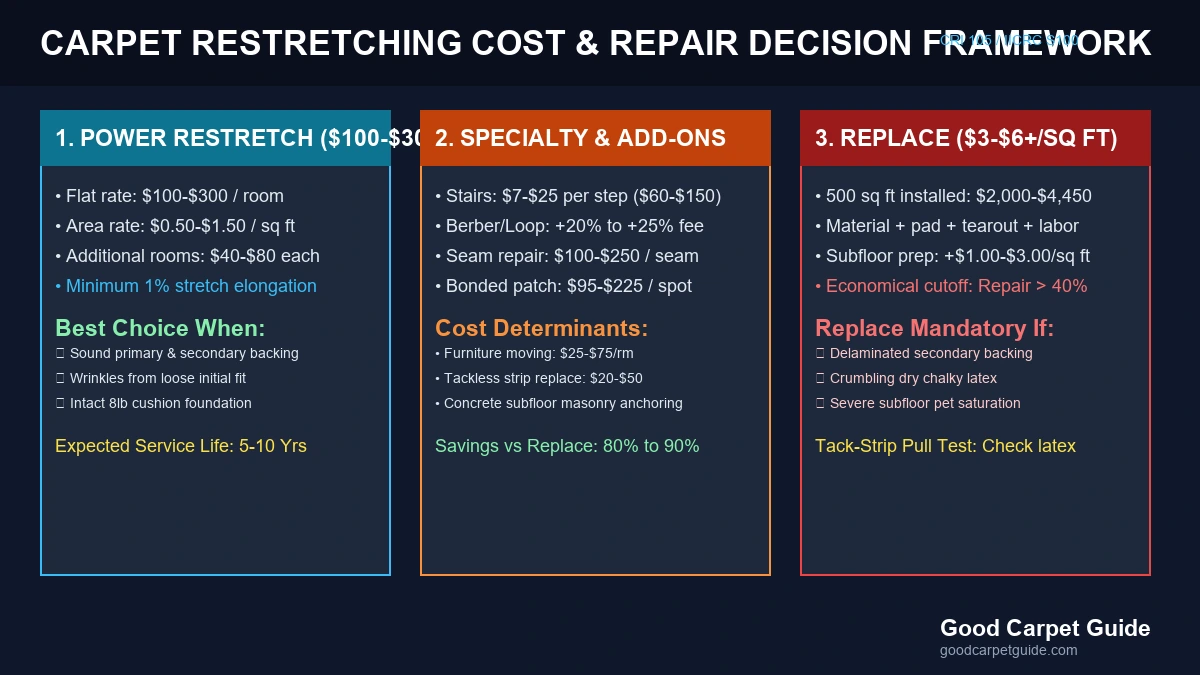
To evaluate detailed contractor pricing tiers across the country, consult our comprehensive analysis on carpet restretching cost .
Room preparation and quadrant tension geometry
Carpet stretching is an exercise in vector physics. You cannot pull carpet randomly and expect waves to disappear. Tension must move along structured directional pathways toward the perimeter walls where excess material can be sheared away and discarded.
1. Mandatory room clearing
You cannot restretch broadloom carpet around heavy dressers, beds, or couches. The mass of the furniture anchors the carpet against the subfloor pad, acting as an immovable clamp. If you engage a power stretcher while a heavy credenza remains in the center of the room, you will stretch the open carpet while shearing the backing around the furniture legs, creating permanent tear marks and distorted seams. Strip the room entirely down to bare carpet. Remove fragile items, electronics, and doors that swing into the room if clearance is tight.
2. The CRI 105 quadrant tension sequence
The Carpet and Rug Institute mandates a specific geometric sequence for stretching broadloom. Every square or rectangular room features two anchor walls and two target pulling walls.
                      ANCHOR WALL 1 (Long Wall - Undisturbed)
             [Corner A]==================================[Corner B]
                 ||                                          ||
                 ||                                          ||
   ANCHOR WALL 2 ||          PRIMARY TENSION VECTORS         || TARGET WALL 3
   (Short Wall)  ||       ---------------------------->      || (First Pull)
                 ||      \                          /        ||
                 ||       \                        /         ||
                 ||        v                      v          ||
             [Corner C]==================================[Corner D]
                                TARGET WALL 4
(Second Pull)- Anchor Wall 1 (Longest Straight Wall): This wall remains hooked onto the existing tack strips. It is the rigid base from which the entire room is pulled.
- Anchor Wall 2 (Adjacent Short Wall): This adjacent wall also remains firmly anchored to establish the original 90-degree corner (Corner A).
- Target Wall 3 (Opposite Short Wall): Disengage the carpet from the tack strips along this entire wall. The power stretcher will pull tension from Anchor Wall 2 across the room toward Target Wall 3.
- Target Wall 4 (Opposite Long Wall): Disengage the carpet along this wall. The power stretcher will then pull tension from Anchor Wall 1 toward Target Wall 4, working progressively from Corner C to Corner D.
If a room exhibits ripples running in both directions, you must release both Target Wall 3 and Target Wall 4. Never pull toward an anchored wall, and never pull in two opposite directions simultaneously.
Step-by-step DIY execution protocol
Follow this field-tested procedure to restretch broadloom carpet safely without damaging baseboards or tearing backing fibers.
Step 1: Disengage the carpet from the target walls
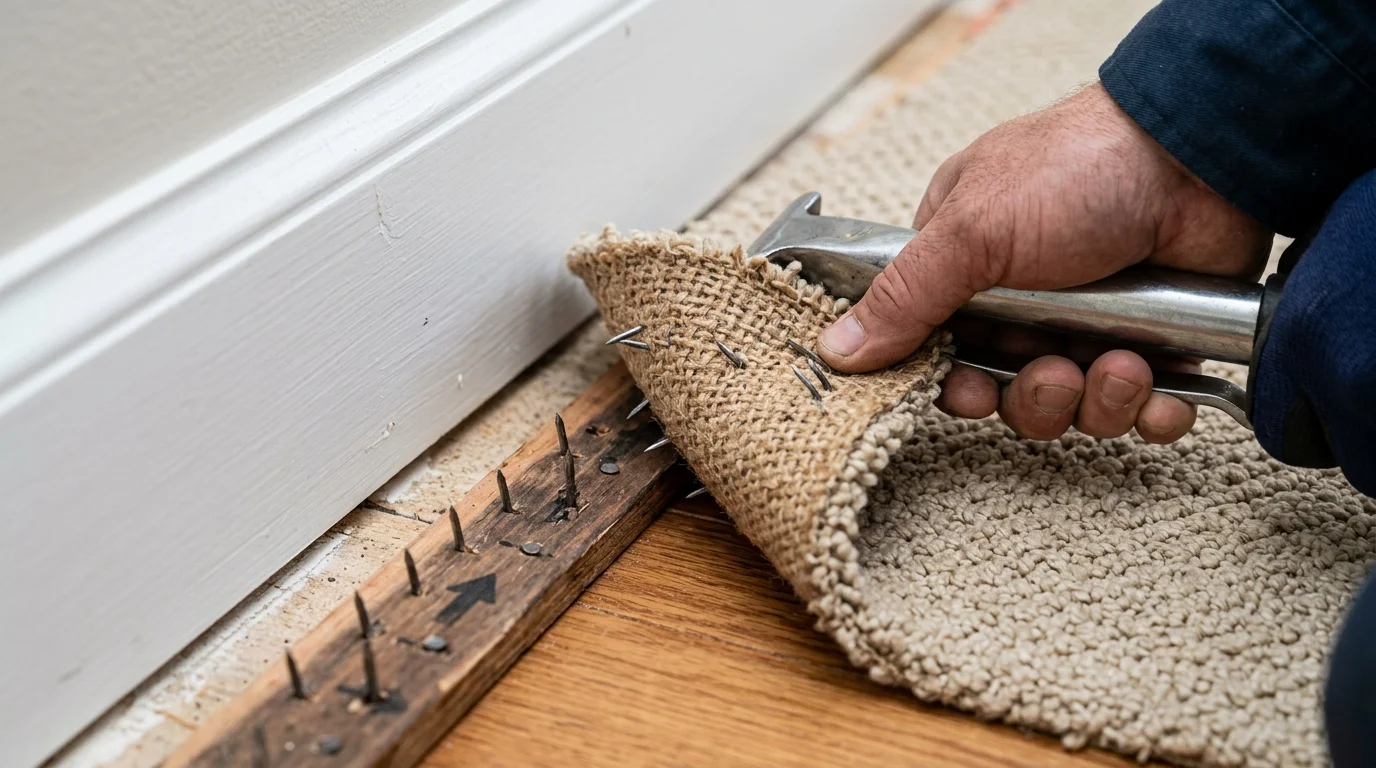
Position yourself in the corner where Target Wall 3 meets Target Wall 4 (Corner D). Insert a stiff putty knife, carpet tucker, or wide pry bar beneath the carpet edge where it dips into the tucking gully near the baseboard. Gently lift upward.
The secondary backing will release from the angled steel pins of the carpet tack strip with a distinct tearing velcro sound. Work carefully along the perimeter of both target walls until the carpet floats free. Never grab face fibers with bare hands and yank upward, as you will pull face yarns out of the primary backing.
       Baseboard
          ||
          ||   Carpet Pile
          ||      ~~~~~~  <-- Pry bar lifts here
          ||     ========
     +----+--+   ||||||||
     |       |   ======== (Backing releases from pins)
     |       |   . . . .  (Padding remains flat)
+----+-------+---------------------------------------+
| SUBFLOOR (Plywood or Concrete Slab)                |
+----------------------------------------------------+
Step 2: Inspect subfloor and tack strip integrity
With the carpet edge pulled back, inspect the underlying components:
- Tackless Strips: Examine the wooden strips along the baseboard. The pins must point toward the wall at an approximate 60-degree angle. If pins are flattened, rusted, or missing, or if the wooden strip has splintered away from the subfloor, pry it up and nail down new tackless strips before proceeding.
- Cushion Condition: Check the underlying pad. If the rebond foam has turned to powder under high traffic areas, cut out the degraded section and duct tape a fresh piece of matching thickness and density. Verify cushion density requirements to ensure the rebond pad maintains adequate support under foot traffic.
Step 3: Calibrate power stretcher pin depth
Assemble the power stretcher extension tubes so the overall tool length reaches from Anchor Wall 2 to within six inches of Target Wall 3. Place a two-foot length of 2x4 lumber flat against the baseboard on Anchor Wall 2. Rest the padded tail block against this 2x4 board.
Installer Warning: Never place the power stretcher tail block directly against hollow 1/2-inch drywall between wall studs. The lateral thrust can easily punch a hole straight through the gypsum board. The 2x4 board bridges across at least two wall studs, dispersing the lateral force safely.
Turn the pin adjustment knob on the power head. Test the teeth on a corner edge of the loose carpet. The pins should penetrate through the face yarn and firmly grip the woven secondary backing, but they must not penetrate into the foam cushion underneath. If the pins pierce the pad, the stretcher will rip the pad apart when you apply lever pressure.
Step 4: Execute the primary power stretch (Wall 2 to Wall 3)
Position the power head approximately three inches away from the tackless strip on Target Wall 3. Angle the stretcher slightly (roughly 15 degrees) toward the nearest unfinished corner.
Slowly push down on the main lever handle. You will feel the mechanical linkage engage as the loose ripples pull toward the head. The carpet must tighten until it rings with a dull, firm thud when tapped with the palm of your hand, resembling a tuned drum head.
TAIL BLOCK (on 2x4) ======= EXTENSION TUBES ======= LEVER HANDLE ====> POWER HEAD
[Against Studs]                                      [Pushed Down]     [Pins Grip Backing]
                                                                               |
                                                                               v
                                                                     TACK STRIP ANCHOR
While maintaining downward pressure on the lever handle with one hand (or engaging the handle lock), use your free hand and a knee kicker or rubber mallet to tap the carpet pile directly over the tackless strip. Drive the carpet down onto the angled steel pins so the pins penetrate the backing and lock the tension into place. Disengage the lever handle. The carpet will remain anchored on the pins.
Move the stretcher head 18 to 24 inches down the wall, adjust the tail block position, and repeat the stretch. Continue along the entire length of Target Wall 3 until all crosswise ripples are eliminated.
Step 5: Execute the secondary power stretch (Wall 1 to Wall 4)
Reorient the power stretcher 90 degrees. Brace the tail block against Anchor Wall 1 (using your 2x4 load spreader) and point the power head toward Target Wall 4.
Begin in the corner adjacent to Anchor Wall 2 (Corner C) and work your way across the room toward Corner D. As you compress the lever handle, you will draw out the lengthwise wrinkles. Hook the carpet onto the tack strip pins at each interval using the knee kicker and mallet tap.
Step 6: Trim the excess broadloom
Now that the carpet is locked under full tension across both target walls, you will notice a flap of excess carpet extending up the baseboard. This excess represents the accumulated slack that previously formed the floor ripples.
- Install a fresh, razor-sharp slotted blade into your carpet trimmer or utility knife. A dull blade will snag and pull individual tuft loops, unraveling yarn rows.
- If using a professional wall trimmer, place the guide plate against the baseboard and glide the tool along the wall. The blade cuts the backing from the front face at the exact height required.
- If using an ordinary utility knife, fold the carpet back slightly and score the backing from underneath, leaving exactly 1/4 inch to 3/8 inch of excess pile past the outer edge of the tack strip.
- Never cut flush with the tack strip pins. If you cut too close, the carpet will slip off the pins under normal foot traffic. The 1/4-inch lip is required to tuck into the architectural gully.
Step 7: Apply seam sealer and tuck the perimeter edge
Before tucking, apply a continuous thin bead of Roberts 8015 Seam Sealer along the freshly cut backing edge. This step is critical on cut-pile and loop-pile synthetic carpets to seal the polypropylene scrim threads and prevent future unraveling.
Allow the sealer adhesive two minutes to tack up. Place the flat blade of your carpet tucker (or a wide, dull putty knife) against the 1/4-inch excess lip at a 45-degree angle pointing into the gap between the tack strip and baseboard. Tap the tucker handle with your palm or a mallet, wedging the carpet edge cleanly downward into the gully. The baseboard edge will now display a smooth, clean, factory-finished transition without visible fraying.
Navigating doorway transitions and seam intersections
The most complex phase of do-it-yourself carpet restretching occurs when tension vectors cross doorway thresholds, closets, or factory seam welds. Improper handling at transitions can tear expensive thermoplastic seams or pull carpet out from beneath metal transition bars.
+-------------------------------------------------------------+
| DOORWAY TRANSITION DETAIL                                   |
+-------------------------------------------------------------+
| BEDROOM BROADLOOM                 HALLWAY BROADLOOM         |
|   (Stretched)                        (Stationary)           |
|        \                                  /                 |
|         v                                v                  |
|    +------------------------------------------+             |
|    | METAL Z-BAR OR SCHLUTER RENO BINDER TRIM |             |
|    +------------------------------------------+             |
|                         ||                                  |
|                 [CONCRETE SUBFLOOR]                         |
+-------------------------------------------------------------+
Doorway metal transition bars
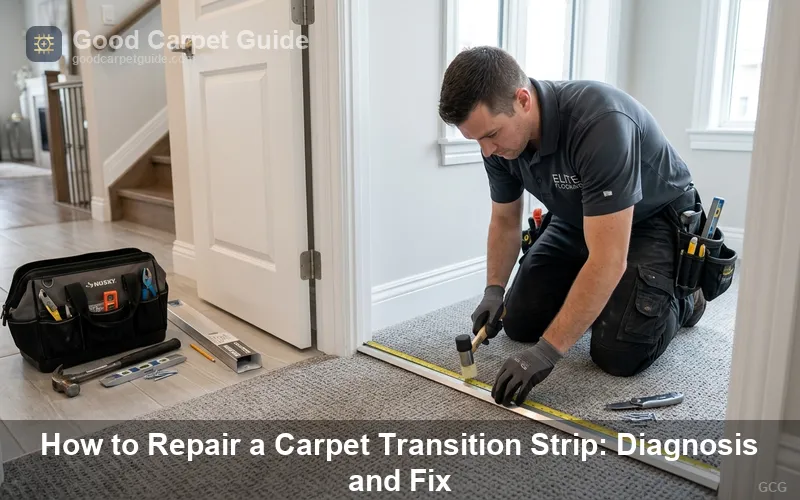
If the room you are stretching connects to a hallway or bathroom finished with ceramic tile, hardwood, or another carpet section, the boundary is secured with a transition molding (metal binder bar, Z-bar, or clamp-down transition).
- Clamp-Down Metal Trims: Use a wide flathead screwdriver to carefully pry up the metal lip holding the carpet teeth. Disengage the carpet. Execute your room stretch. Trim the excess carpet so it overlaps the metal base by 3/8 inch, hook the carpet onto the internal grip teeth, and tap the metal lip back down using a wood block and hammer to avoid denting the aluminum trim.
- Under-Door Seams: If two carpeted rooms connect with a continuous seamed piece of broadloom, stretching one room will exert intense shear stress on the seam tape underneath. If ripples cross directly through a doorway, you must determine whether the seam tape was properly hot-melted. If the seam pulls open under stretch, refer to standard hot-melt seam repair methods to re-weld the thermoplastic tape before applying perimeter tension.
For multi-room transition rules, always isolate tension room by room across doorways rather than pulling continuous lengths across threshold boundaries.
Five fatal DIY restretching mistakes that destroy carpet
Restretching broadloom requires respecting the structural limits of synthetic textile materials. In field inspection teardowns, our forensic technicians routinely document preventable damage caused by well-intentioned homeowners committing these five errors:
+-----------------------------------------------------------------------+
| CRITICAL DIY FAILURE MODES & AVOIDANCE CHECKLIST                      |
+-----------------------------------------------------------------------+
| 1. THE KNEE-KICKER TRAP                                               |
|    Error: Attempting whole-room stretch with knee kicker alone.       |
|    Result: Patellar joint trauma; ripples rebound within 6 months.    |
|                                                                       |
| 2. SYRINGE GLUE INJECTIONS                                            |
|    Error: Puncturing backing to inject adhesive into ripples.         |
|    Result: Rock-hard lump; bonds pad to backing; ruins restretching.  |
|                                                                       |
| 3. EXCESSIVE LEVER FORCE (OVERSTRETCHING)                             |
|    Error: Jacking power stretcher beyond 1.5% elongation.             |
|    Result: Backing delamination; torn seams; broken baseboard studs.  |
|                                                                       |
| 4. UNPROTECTED DRYWALL THRUST                                         |
|    Error: Placing tail block directly against hollow drywall.         |
|    Result: Punches 8-inch hole through wall gypsum board.             |
|                                                                       |
| 5. FLUSH BACKING CUTS                                                 |
|    Error: Trimming carpet flush with tack strip pins.                 |
|    Result: Zero material left to tuck; carpet snaps off pins forever. |
+-----------------------------------------------------------------------+
Mistake 1: The knee-kicker-only installation trap
Relying entirely on a knee kicker is the single most common DIY mistake. A kicker provides only surface-level impact force. It does not stretch the secondary backing across room distances greater than eight feet. Within a few months of normal temperature fluctuations and foot traffic, the temporary elasticity relaxes, and the wrinkles return in the exact same positions. Always use a power stretcher for wall-to-wall installations.
Mistake 2: The syringe glue injection fallacy
Countless internet tutorials advise homeowners to take an adhesive syringe, puncture a carpet bubble, inject liquid construction adhesive or hot melt glue, and weigh the spot down with heavy books. Never do this under any circumstances.
Glue injection bonds the primary backing directly to the foam cushion underneath, and the cushion to the subfloor. It creates an immovable, rock-hard lump underfoot that collects dirt. Furthermore, it permanently destroys that section of broadloom, making future power restretching impossible because the carpet can no longer slide across the pad. The only fix for a glued bubble is cutting out the entire section and installing an unsightly donor patch.
Mistake 3: Over-stretching and tearing backing latex
More force is not always better. A commercial power stretcher delivers over 600 pounds of mechanical thrust. If you slam down on the lever handle with excessive force on older carpets (especially polyester carpets over seven years old), you can rupture the brittle SBR latex compound. Once the latex shatters, the secondary backing tears away, producing irreparable delamination. Maintain the CRI 105 guideline: stretch until the carpet lifts 1.0% to 1.5% in length (roughly one to 1.5 inches per 10 feet of room span) and emits a dull drum thud.
Mistake 4: Punching holes through hollow drywall
The tail block of a power stretcher pushes backward with the exact same tonnage that the head pulls forward. Placing the tail block directly against gypsum drywall between studs will puncture a hole through your wall before the carpet even begins to stretch. Always place a rigid 2x4 board at least 24 inches long against the wall base to bridge the force across two vertical structural wall studs.
Mistake 5: Cutting the perimeter flap too short
When trimming excess carpet along the baseboard, inexperienced DIYers often hold their blade angle flat, cutting the backing flush with the outer line of tack strip pins. Without the necessary 1/4-inch excess lip, there is no material to wedge into the tucking gully. The first time someone runs a vacuum cleaner near the baseboard, the vibration will jar the carpet loose, snapping it off the pins permanently.
When to stop: room scenarios requiring a certified professional
While a rectangular bedroom or open family room is well within the capabilities of a patient DIY homeowner, certain floor plans and material conditions demand professional intervention from an IICRC-certified or CFI-certified flooring repair technician.
+-------------------------------------------------------------+
| DIY CAPABILITY VS PROFESSIONAL HAND-OFF THRESHOLDS          |
+-------------------------------------------------------------+
| SUITABLE FOR DIY RESTRETCHING                               |
| - Standard rectangular or square bedrooms (up to 15x20 ft)  |
| - Single-room broadloom with straight perimeter baseboards  |
| - Cut-pile nylon, polyester, or triexta carpets             |
| - Intact tack strips and dry, firm subfloors                |
+-------------------------------------------------------------+
| CALL A LICENSED FLOORING TECHNICIAN                         |
| - Berber, loop-pile, or commercial woven wool carpets       |
| - Multi-room continuous carpet with diagonal hallway seams  |
| - Severe subfloor pet urine saturation requiring shellac    |
| - Rooms with curved walls, step-downs, or radiator pipes    |
| - Widespread latex delamination with crunching white dust   |
+-------------------------------------------------------------+
1. Loop-pile and woven Berber carpets
Berber carpet constructed from continuous looped yarns (such as olefin or wool) poses an extreme snagging hazard. If a power stretcher pin engages a surface loop rather than the underlying backing grid, the tool will pull a continuous "zipper" run across the entire room, destroying the carpet face in seconds. Installers use specialized low-penetration pin plates and careful micro-tensioning on Berbers.
2. Complex architectural layouts and diagonal seams
L-shaped rooms, spaces with central staircases, bay window alcoves, and fireplaces require complex multi-directional tension calculations. Stretching one leg of an L-shaped room without understanding vector distribution will distort diagonal doorway seams and pull carpet away from opposing inside corners.
3. Widespread latex crumbling (powder under carpet)
If you lift the carpet edge and discover piles of gritty white powder resting on the cushion, your carpet latex compound has undergone advanced oxidative degradation. The rubber has crumbled to dust. Restretching a carpet in this condition will rip the primary backing apart like wet cardboard. The carpet has reached the end of its useful structural life and must be replaced. Review structural degradation indicators to determine whether total broadloom replacement is required.
Step-by-step troubleshooting guide
| Symptom on Site | Root Technical Cause | Immediate Corrective Action |
|---|---|---|
| Carpet pops off tack pins immediately after stretching | Tack strip pins bent, rusted, or set at wrong angle | Replace damaged wooden tack strip sections; verify 60° pin slant toward wall |
| Ripple reappears in center of room after 48 hours | Stretcher tail block slipped; inadequate 1.0% elongation | Re-anchor tail block on 2x4 across two studs; re-pull to CRI 105 drum-tight tension |
| White powder appears along baseboard after trimming | Latex breakdown along cut line | Apply Roberts 8015 Seam Sealer to cut backing before final gully tucking |
| Carpet tears along doorway transition | Thermoplastic seam tape brittle or split | Re-iron transition seam with fresh hot-melt tape before applying lateral tension |
| Crunching sound underfoot after restretching | Pulverized rebond pad beneath loose zone | Disengage carpet, cut out crushed pad section, install matching density pad |
Conclusion: restoring longevity and safety to your flooring
Broadloom carpet wrinkles are an engineering problem with an engineering solution. By renting a commercial power stretcher, respecting the four-wall quadrant stretch geometry dictated by CRI 105, and sealing your freshly trimmed perimeter edges, you can eliminate ripples permanently in a single weekend afternoon.
You protect your household from trip injuries, dramatically improve the visual aesthetics of your living space, and extend the functional lifespan of your broadloom flooring by five to eight years without paying thousands of dollars for premature replacement.
Key takeaways for homeowners
- Never use a knee kicker alone for broadloom restretching; power stretchers are mandatory to achieve the 1.0% to 1.5% mechanical elongation specified by CRI 105.
- Protect your drywall by bridging a rigid 2x4 board across two structural wall studs behind the stretcher tail block.
- Never inject glue into ripples; syringe adhesive permanently ruins both the broadloom and the underlying cushion.
- Seal every trimmed edge with Roberts 8015 latex sealer before tucking into the architectural gully to prevent edge fraying.
- Consult certified professionals when dealing with looped Berber carpets, complex multi-room L-shaped layouts, or crumbling latex backings.