A property manager in Dallas called me after a tenant tried to “fix” a lamp burn in a beige saxony carpet with hot glue and a patch cut from the middle of a closet. From standing height, the repair looked like somebody dropped a tortilla chip into the middle of the floor. Wrong nap direction, shiny glue bleed-through, and the patch sat higher than the surrounding pile because the guy glued straight to the cushion padding. By the time I got there, the original quarter-sized burn had turned into a full structural carpet surgery job.. For repair steps, see carpet burn repair .
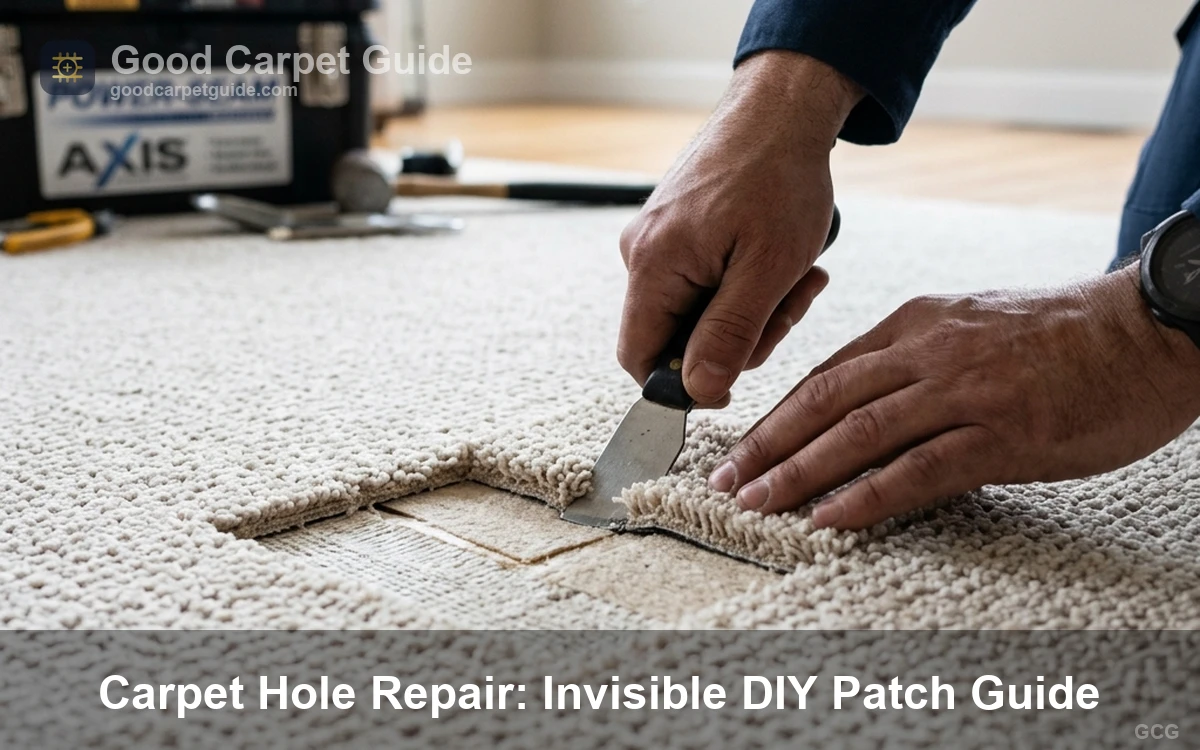
A hole, burn, or pet tear does not automatically mean you need to replace the entire room’s carpet. Most localized damage can be repaired. The problem is that bad carpet repair usually looks worse than the original damage. Carpet patching is one of those trades where tiny details matter: pile lay, seam tension, backing integrity, latex flexibility, and even sunlight fading patterns across the room.
For a detailed breakdown of project costs, stair installation protocols, and warranty void conditions, refer to our carpet patch repair guide written by our professional installer.
Professional carpet repair is about tricking the human eye. Invisible patching depends less on glue and more on understanding how carpet fibers reflect light, compress under foot traffic, and shift under tension.
The Three Gold Rules of Invisible Carpet Patching
Roberts Carpet Repair Kit & Cookie Cutter
The professional gold standard for DIY donor transplants. Instantly cuts exact 3-inch circular donor pieces from closets for flawless, invisible carpet patches.
Check Price on AmazonEvery professional carpet restoration tech follows three rules on every patch job. DIY failures almost always break one or more of them.
1. Respect the Grain (Nap) Direction
Carpet has grain direction, also called nap or pile lay. Ignore the nap, and the patch will flash differently under lighting even if the color matches perfectly.
To find nap direction, slide your hand across the carpet surface. One direction feels smoother and darker. The opposite direction feels rougher and lighter because the fibers stand upright and reflect more light. A flashlight held low across the surface makes the pile direction easier to spot.
When harvesting a donor piece, mark the nap direction on the carpet backing with a Sharpie before cutting. Every installer does this. A backwards patch screams at you from across the room.
2. The "Dirty Carpet Reveal" Danger
Fresh carpet hidden inside a closet almost never matches the exposed walking lanes in the main room.
Traffic oils, vacuum wear, sunlight oxidation, and airborne dust slowly change carpet color over time. Pulling a clean donor patch from the back of a closet and dropping it into the center of a traffic lane creates what installers call the “dirty carpet reveal.” The patch ends up cleaner, brighter, and often slightly taller than the surrounding field carpet.
Before patching, professionally clean the repair area or at minimum wash the section with a CRI-approved carpet cleaner and let it fully dry. If you are dealing with localized discoloration or old spots first, check our guide on how to remove carpet stains to restore the pile. You want the donor patch and receiving carpet to be as visually close as possible before cutting begins.. For deep washing guidelines, see how to steam clean carpet recommendations .
This issue becomes severe in older carpets already showing backing stress or wear separation. If the carpet fibers are peeling away from the secondary backing, stop patching and inspect for structural failure. See the related carpet delamination guide for warning signs before attempting repair.
3. Never Glue to the Padding
This is the mistake that separates real carpet mechanics from internet DIY hacks.
Carpet and cushion padding must move independently. The carpet stretches and relaxes naturally under seasonal humidity changes and foot traffic. When somebody squirts glue through the carpet backing into the foam pad underneath, the carpet becomes anchored in one rigid spot while the surrounding material still shifts normally.
The result is permanent ripples, wrinkles, buckling, and crunchy bumps underfoot.
Professional carpet repair bonds carpet backing to carpet backing, usually using hot-melt seam tape, thermoplastic welds, or flexible latex seam adhesive. The cushion pad underneath should remain free-floating except at perimeter tack strips.
Anybody recommending Liquid Nails, silicone, construction adhesive, or hot glue directly onto the subfloor is creating an expensive future restoration problem.
DIY Techniques: Step-by-Step Carpet Repair Methods
Roberts 8015 Universal Carpet Seam Adhesive
A high-latex commercial-grade adhesive essential for locking cut carpet backing fibers. Prevents patch fraying, edge unraveling, and failure under heavy vacuums.
Check Price on Amazon1. The "Fiber Transplant" (For Tiny Burns and Small Holes)
Fiber transplantation works beautifully for cigarette burns, coal ember damage near fireplaces, or tiny melted spots from curling irons and desk lamps.
This method repairs the fibers without cutting through the carpet backing.
Start by trimming the burned fibers with curved micro-shears or cuticle scissors. Do not yank melted fibers upward. Pulling charred tufts can tear the primary backing grid underneath. Carefully snip the damaged pile all the way down to the base layer.
Vacuum the cavity thoroughly. Loose carbon debris weakens adhesive bonding.
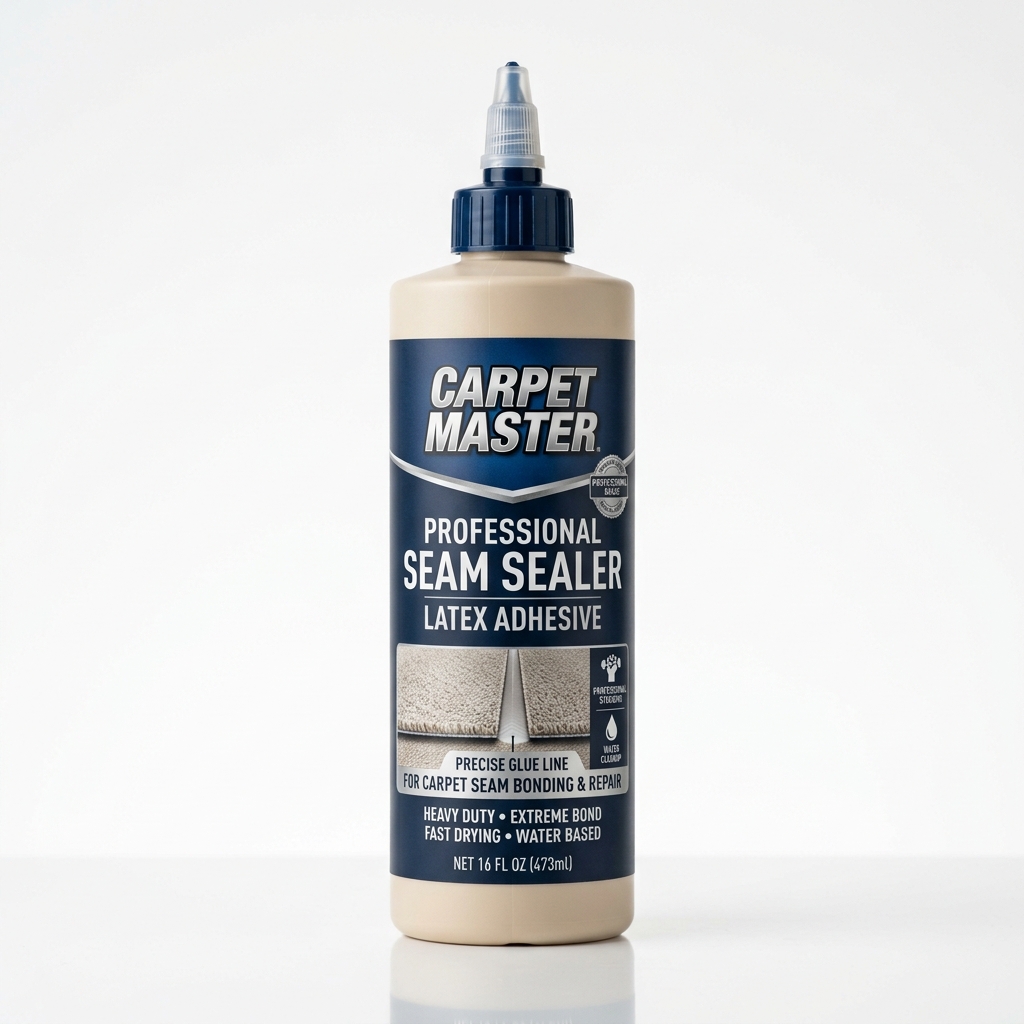
Apply a tiny amount of flexible adhesive into the exposed cavity. Professional installers commonly use Duco Cement or Roberts 8105 Seam Glue because both remain slightly flexible after curing. Brittle glue eventually fractures when the carpet flexes under traffic.
Now harvest donor fibers from a hidden location. Closet corners work best. Use fine tweezers and trim fibers individually while matching pile height, twist pattern, and yarn density.
Press the donor tufts into the adhesive bed one cluster at a time. Rotate the fibers to match surrounding nap direction. Let the adhesive partially cure before grooming the repair with a carpet brush.
Done correctly, fiber transplantation disappears almost completely after light vacuuming.
2. The Structural Rectangular Patch (For Large Pet/Dog Damage)
Dog damage near doorways is one of the most common residential carpet repair calls in America. Most dogs dig at transition points because doorway edges concentrate scent and movement.
The repair method depends entirely on how close the damage sits to the threshold.
When Physical Stretching Works
If the damage sits within roughly 2–3 inches of the doorway edge, you may not need a patch at all.
Professional installers often perform a “physical stretch” repair instead. Using a knee kicker or power stretcher, the carpet gets pulled forward toward the doorway while removing the damaged edge section completely.
After stretching, the frayed edge gets trimmed clean and reattached onto the tack strip. The doorway transition usually hides the removed material.
This repair works best on synthetic residential carpet with healthy elasticity remaining in the backing system.
The Structural Patch Method
Larger pet damage requires a true structural patch.
First, cut the damaged area into a perfect rectangle or square using a carpet knife with a fresh slotted blade. Straight cuts create cleaner seam geometry than random shapes.
Now place the removed section onto the donor carpet and use it as a cutting template. Match the nap direction carefully before cutting.
Professional patch mechanics slightly bevel the donor patch edges inward on the backing side, creating a subtle ___/ shape. That bevel allows the face yarns to fan outward naturally and hide the seam line after installation.
Place hot-melt seam tape beneath the repair opening. Use a seam iron carefully at controlled temperature, following standard carpet seam repair recommendations to prevent backing shrinkage. Overheating melts synthetic primary backing and creates hard seam ridges.
Some restoration techs prefer professional latex seam adhesive instead of heat welding on delicate residential carpet.
After bonding, use a carpet tractor or seam roller lightly across the repair to blend pile fibers together without crushing the nap.
Never over-roll plush carpet. Excessive seam pressure creates visible compression lines around the repair perimeter.
3. How to Repair Automotive (Car) Carpets
Automotive carpet repair is a completely different trade category from residential carpet patching.
Car carpet is usually heat-molded onto rigid composite backings. Standard residential seam irons can easily melt or distort automotive carpet fibers and foam laminates.
The best donor carpet usually comes from beneath the seat tracks or from a salvage yard matching the same vehicle trim package.
Create a cardstock stencil matching the damaged section. Trace the shape carefully onto the donor carpet backing.
Use automotive-grade contact adhesive like DAP Weldwood Contact Cement or 3M Headliner Adhesive. Apply adhesive to both the floorboard surface and the donor patch backing.
Wait roughly 5–10 minutes until the adhesive becomes tacky rather than wet. Contact cement bonds instantly on contact, so alignment matters.
Press the patch firmly into place. Cover the repair with wax paper and place a heavy object on top. A brick wrapped in a towel works perfectly.
Leave the weight in place for a full 24 hours before driving the vehicle.
The Danger Zone: Why You Should Never Spot-Patch Stair Carpets
Spot-patching stair noses is highly discouraged in the flooring industry.
Stair carpet handles extreme multi-directional tension and shear stress every single day. Every footstep drags across the stair nose horizontally while compressing downward vertically. Small patches installed on stair noses almost always fail prematurely.
Failed stair patches become serious trip hazards.
The professional solution is called the “Closet-to-Stair Swap.” Instead of patching only the damaged section, installers replace the entire carpet panel covering the affected tread. A matching donor section harvested from a closet gets fully wrapped onto the stair tread and nose. If your stairs are heavily worn or slippery already, review material recommendations inside the best carpet for stairs guide .
Professional mechanics secure stair carpet using curved upholstery needles with heavy linen thread or mechanical anchoring methods like electric staple guns loaded with 3/4-inch heavy-duty crown staples driven completely flush.
Cheap adhesive-only stair repairs are dangerous.
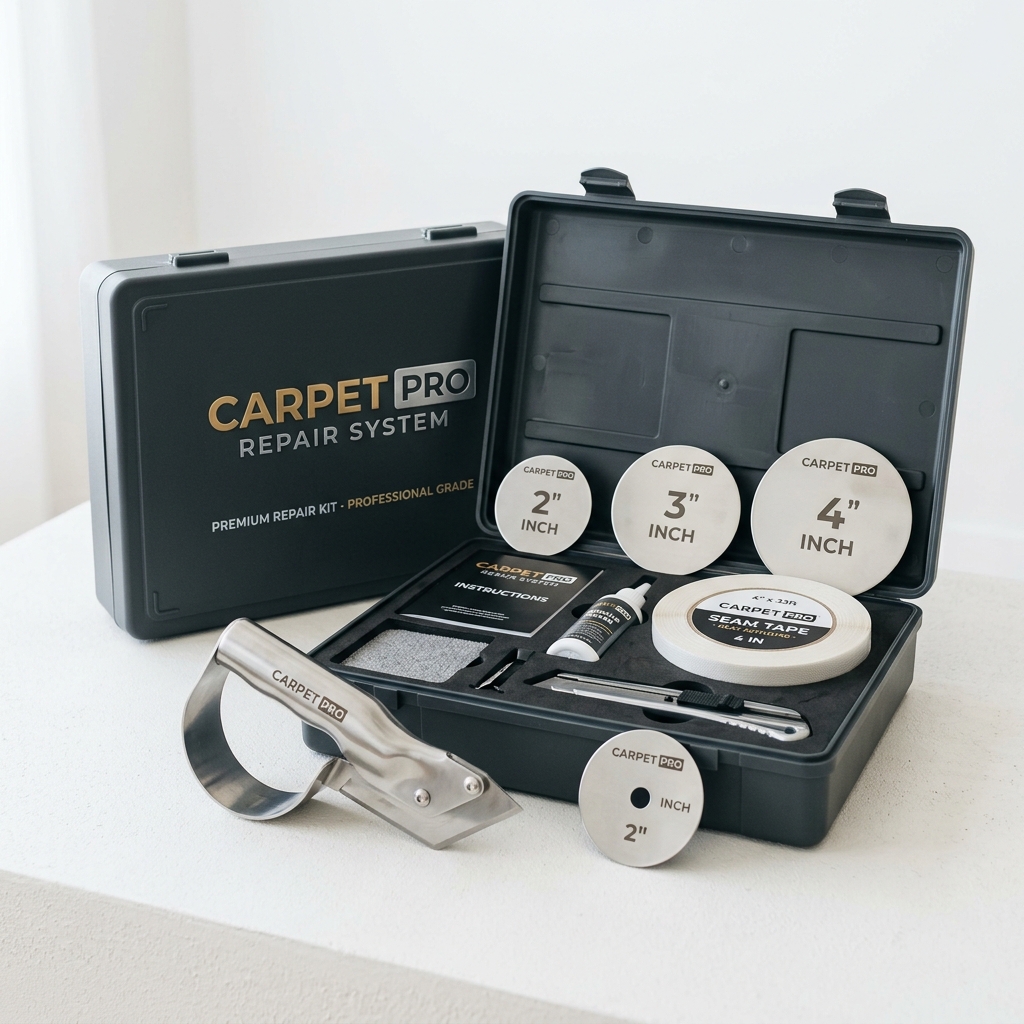
Pro Tools vs. DIY Garbage: What to Use and What to Avoid
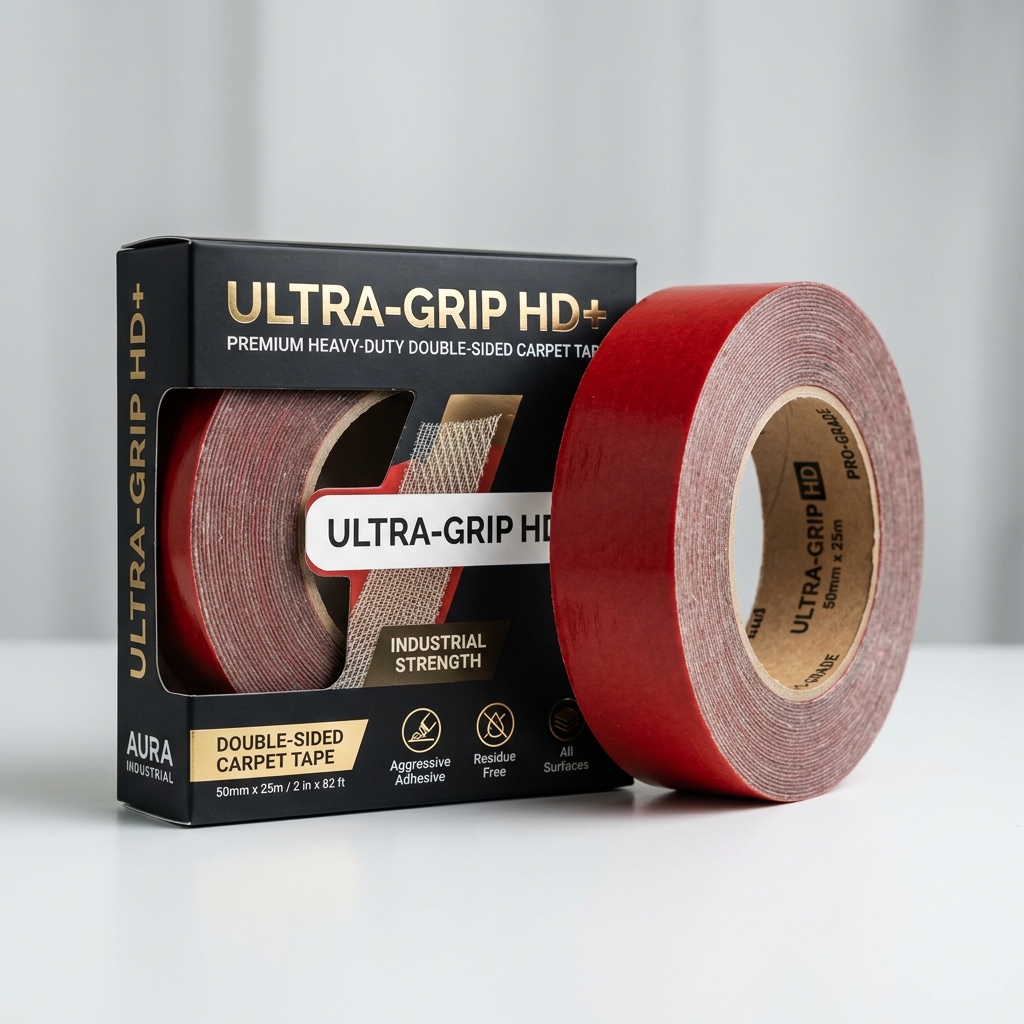
XFasten Double-Sided Carpet Tape Heavy Duty
Professional-grade thermoplastic adhesive tape designed for under-backing seam welds. Offers extreme shear strength without requiring a specialized heat-weld iron.
Check Price on AmazonProfessional carpet repair equipment exists for a reason. Cheap retail repair kits usually create visible repairs that fail structurally within a year.
Professional Recommendations
The Crain 174 Carpet Repair Tool remains one of the best professional plug repair systems ever made. Installers call it a “cookie cutter” because it punches perfectly matched circular carpet plugs with near-invisible seam geometry.
Duco Cement works exceptionally well for fiber transplantation because the adhesive stays flexible after curing.
Roberts 8105 Seam Glue is another industry staple. The adhesive seals raw carpet edges and prevents unraveling around repair seams.
Hot-melt seam tape paired with a controlled-temperature seam iron remains the gold standard for structural carpet patching.
The Garbage Warnings
Most big-box DIY carpet repair kits rely on peel-and-stick double-sided tape. Those kits fail because they do not properly seal carpet edges. Once the primary backing starts fraying, the patch slowly unravels.
Craft glue dries brittle and cracks under flexing traffic loads.
Silicone caulk contaminates carpet backing permanently and prevents future professional seam bonding.
Liquid Nails and construction adhesives harden into rigid masses beneath the carpet. I have literally had to cut out entire sections of carpet because somebody used subfloor adhesive under a tiny burn repair.
Hot glue guns are another disaster. Hot glue bleeds through the backing, stiffens the pile, and creates shiny reflective spots visible under lighting.
The Cost Reality: Professional Fees vs. DIY Budget
Homeowners often underestimate how much professional carpet repair costs because most flooring contractors operate on minimum trip charges rather than per-minute labor.
Independent carpet repair specialists typically charge between $100 and $250 minimum service call fees. Many charge around $150 for the first hour and roughly $110 for additional labor hours.
Corporate flooring contractors usually have higher operational overhead. Minimum invoices commonly land between $250 and $450 per visit even for small repairs.
| Repair Type | Typical Professional Cost |
|---|---|
| Small burn hole patch | $75–$150 |
| Fiber transplant repair | $75–$125 |
| Doorway stretch repair | $100–$180 |
| Structural carpet patch | $125–$250 |
| Stair tread replacement | $150–$300+ |
DIY repair materials themselves are relatively cheap. Most homeowners spend around $15–$35 for glue, blades, seam tape, and trimming tools.
The expense climbs fast once specialty tools enter the picture. Renting or buying a seam iron, knee kicker, carpet tractor, or seam roller pushes the DIY budget into the $75–$200 range quickly.
The Fine Print: Will a DIY Patch Void Your Carpet Warranty?
Most carpet manufacturers already exclude localized damage from warranty coverage.
Major residential carpet brands like Shaw Industries and Mohawk Industries specifically exclude burns, cuts, pet claw damage, chewing, tears, and abuse-related fiber loss from standard wear warranties.
Here is the part most homeowners never read: A DIY structural patch can void the manufacturer warranty for the entire room. Most residential carpet warranty documents require all repairs and modifications to comply with CRI-105 standards, formally known as the Carpet and Rug Institute Residential Installation Standard. Unauthorized structural modifications by unlicensed installers violate those requirements immediately.
That sounds harsh, but the reality on job sites is more nuanced. Manufacturers protect themselves legally. Homeowners protect their wallets practically. Replacing an entire room of carpet over a single pet tear is often financially irrational.
| Aspect | Manufacturer Warranty Claim | On-Site Installer Reality |
|---|---|---|
| Pet Damage | Excluded completely (chewing, scratching, claws). | Can be structurally repaired or stretched out at the doorway. |
| DIY Modification | Voids the entire room's warranty. | The only cost-effective way to fix localized damage without buying new carpet. |
| CRI-105 Compliance | Mandated for all repairs and installs. | Requires professional licensing; DIY tools cannot meet this standard. |
| Adhesive Durability | Unspecified for localized repairs. | Cheap DIY craft glue fails in 6-12 months; pro thermoplastic weld lasts 5-10 years. |
Frequently Asked Questions
Can you repair a carpet hole without a donor piece?
Yes. Small holes under roughly 1 inch can often be repaired using the fiber transplant method. Individual carpet tufts harvested from a hidden location get bonded into the damaged cavity without cutting the carpet backing structurally.
How long does a DIY carpet patch last?
Peel-and-stick patches or repairs using craft glue commonly fail within 6–12 months, especially in traffic lanes. Professionally installed heat-welded patches or latex-sealed structural repairs regularly last 5–10 years or longer depending on traffic conditions and carpet quality.
Can a dog-damaged doorway be repaired without patching?
Yes. If the damage sits within approximately 2–3 inches of the threshold, installers can often use a power stretcher or knee kicker to pull the carpet forward, trim away the damaged edge, and re-anchor the carpet onto the tack strip without inserting a donor patch.