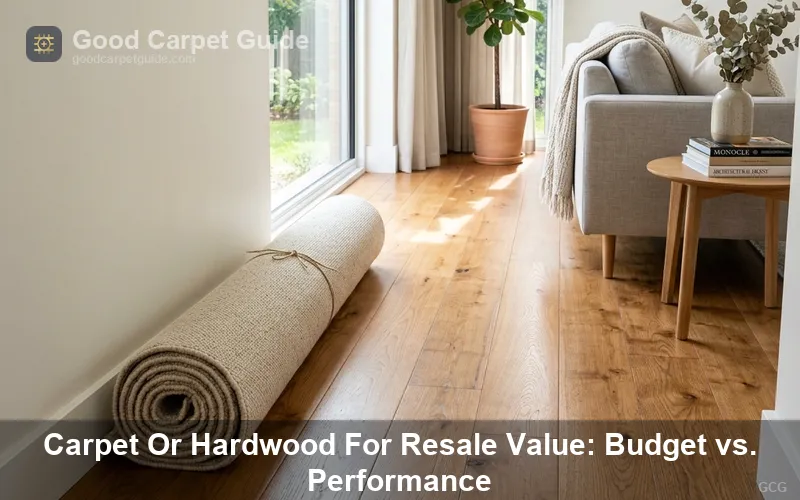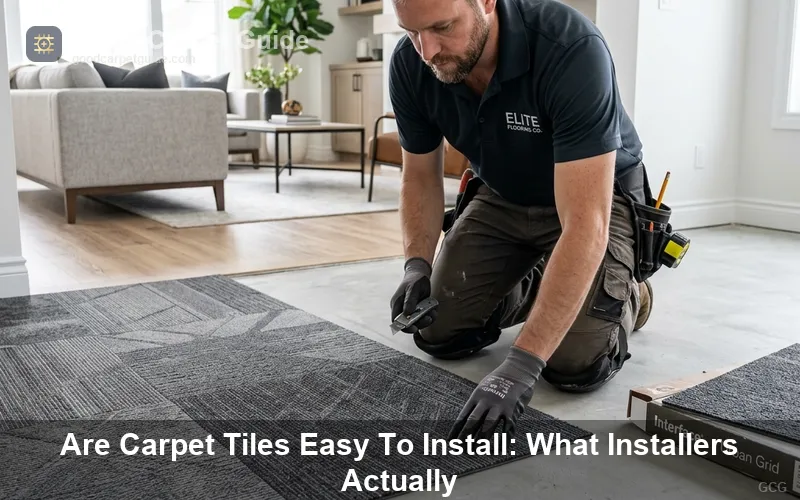
Carpet tiles are easy to install under a specific set of conditions — a flat, dry subfloor, correct layout control lines, and the right adhesive system — but carpet tile installation fails at a measurable rate when any one of those three conditions is absent. Carpet tiles are a modular flooring system, distinct from broadloom carpet, in that each unit measures 18x18 inches or 24x24 inches and carries its own backing, allowing individual tile replacement without disturbing the surrounding field. This article covers subfloor preparation (including ASTM F2170 moisture testing for concrete slabs), layout mechanics, adhesive selection between pressure-sensitive adhesive (PSA) and peel-and-stick systems, real installer failure reports, brand comparisons across FLOR, Mohawk, Shaw, Joy Carpets, and Tarkett Powerbond, warranty fine print that penalizes DIY installs, and a full cost breakdown from $2.00 to $15.00+ per sq. ft. for materials alone.
is carpet tile easy to install
Carpet tile installation is easy for a prepared installer and genuinely risky for an unprepared homeowner. The modular format eliminates the need for a knee kicker, power stretcher, or seam iron — the three heaviest tools in a broadloom carpet installer's kit — but carpet tile installation introduces its own critical failure points at the subfloor preparation and layout planning stages.
I pulled up a failed carpet tile job in a finished basement three years ago. The homeowner had placed 24x24 inch tiles directly over bare concrete without testing for moisture. Within eight months, the pressure-sensitive adhesive had re-emulsified. Concrete is porous, and when non-breathable carpet tile backs block natural evaporation, moisture accumulates at the slab surface, dissolves alkaline salts, and raises pH above 9. At that alkalinity level, acrylic polymers in PSA adhesives break down and revert to a liquid state, oozing up through seams as a sticky white paste. The tiles had lifted at every seam, and the PSA had spread across the backing of each tile in a cloudy film.
For above-grade rooms with a plywood or OSB subfloor meeting a maximum 3/16-inch deviation over a 10-foot span (per CRI 104 installation standards for commercial carpet tile), carpet tile installation is straightforward. For below-grade concrete, carpet tile installation requires in-situ relative humidity (RH) probe testing using ASTM F2170 methodology before any adhesive or tile touches the slab.
how to install carpet tiles
Carpet tile installation follows a structured sequence: subfloor preparation, RH testing (concrete only), layout planning with chalk control lines, tile placement working outward from the room's center, perimeter cutting, and edge finishing. Skipping the layout planning step is the most common DIY failure I document in field inspections.
subfloor preparation checklist
Subfloor preparation determines whether carpet tile installation lasts 5 years or 15 years under residential foot traffic conditions. The following conditions must be verified before the first tile is placed:
- Confirm subfloor flatness does not exceed 3/16 inch over a 10-foot radius (CRI 104 standard), using a 10-foot straightedge and feeler gauges.
- Sand or grind high spots on concrete using a floor grinder fitted with a diamond cup wheel.
- Fill low spots using a Portland cement-based floor-leveling compound rated for adhesive compatibility; do not use gypsum-based compounds on below-grade slabs.
- Conduct ASTM F2170 in-situ RH testing on concrete slabs; install RH probes at 40% depth of the slab thickness, allow 24-hour equilibration, and accept readings at or below 75% RH before PSA application.
- Sweep, vacuum, and tack-wipe the subfloor surface; adhesive bond strength degrades by an estimated 30% to 50% over dust-contaminated concrete, per adhesive manufacturer technical data sheets.
- Allow new concrete slabs to cure for a minimum of 60 days before testing.
Completing the subfloor checklist before touching tile or adhesive eliminates the three most common catastrophic failures: adhesive re-emulsification from alkaline moisture, tile tent-popping over high spots, and layout drift over an uneven field.
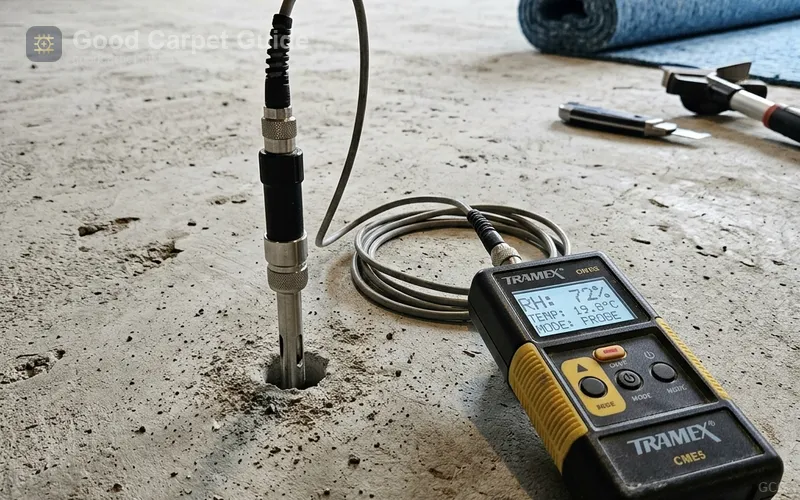
An ASTM F2170 in-situ relative humidity probe seated at 40% slab depth during the mandatory 24-hour equilibration period before carpet tile adhesive application — the single most skipped step in failed basement installations.
layout planning with chalk control lines
Layout planning begins at the room's geometric center, not at any wall. Walls in residential rooms deviate from true 90-degree corners by 1 to 4 degrees on average, and starting against a wall transfers that deviation across the entire tile field as a diagonal drift, producing crooked rows and inconsistent perimeter cuts.
The correct layout procedure for carpet tile installation:
- Measure the room's length and divide by 2; snap a chalk line parallel to the longest wall through the midpoint.
- Measure the room's width and divide by 2; snap a second chalk line perpendicular to the first through the midpoint.
- Verify the two chalk lines form a true 90-degree angle using the 3-4-5 right-triangle technique: measure 3 feet along one line, 4 feet along the other, and confirm the diagonal between those two points measures exactly 5 feet.
- Place a dry-lay test row of tiles from the center toward each wall along both chalk lines to check the perimeter cut width; adjust the center point if perimeter cuts would be less than half a tile wide to avoid thin, unstable edge pieces.
- Mark the quadrant for the first tile placement at the intersection of the two chalk lines.
- Work outward from the center in a stair-step pattern, placing tiles in one quadrant at a time.
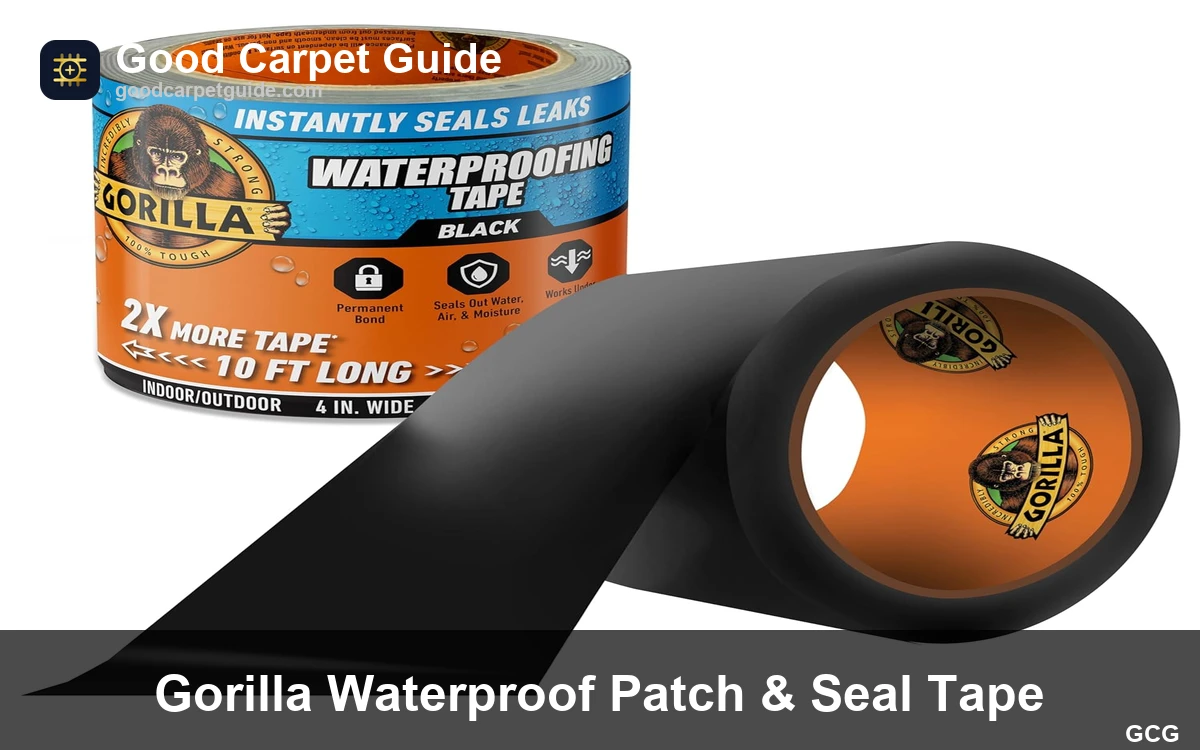
Gorilla Double Sided Carpet Tape
Double-sided carpet tape rated for carpet tile perimeter bonding on hard subfloor surfaces; useful for securing border tiles in floating installations where full PSA coverage is not used.
Check Price on Amazonhow to install interlocking carpet tiles
Interlocking carpet tile installation differs from standard PSA or floating tile installation because the tiles connect mechanically at the edges rather than relying on adhesive bond or tile weight for stability. Interlocking carpet tiles use tongue-and-groove or puzzle-edge profiles milled into the backing, and the connection holds tile-to-tile alignment without any adhesive contact with the subfloor.
The interlocking installation sequence parallels standard carpet tile layout with one critical addition: tile orientation matters directionally for the connection profile to engage correctly. Interlocking carpet tile backings carry a directional arrow, and all arrows must align in the same compass direction within the field — a quarter-turn rotation prevents the edge profile from seating fully, creating a raised seam ridge that wears unevenly under foot traffic.
For interlocking tiles in floating configurations, subfloor flatness tolerance tightens to 1/8 inch over a 6-foot span. An unlevel substrate causes rocking at the tile corners, which over time fatigue-fractures the interlocking profile and creates permanent gaps. Joy Carpets' StayTac non-adhesive integrated backing system uses micro-adhesion friction rather than mechanical interlocking, eliminating the profile-alignment requirement while still avoiding liquid adhesives entirely.
what real users report about carpet tile seam durability and washability
The two most-marketed features of carpet tiles — washability and individual tile replacement — produce the most documented post-purchase complaints in flooring forums when the product encounters real-world conditions.
what users report about washing stained carpet tiles
Lifting a stained tile and washing it in a sink or driveway sounds like a straightforward maintenance task, but the backing absorbs significant moisture and can take several days to fully dry in normal household conditions. Once washed and fully dried, the tile's fibers bloom and expand at the pile surface, causing the cleaned tile to stand visibly higher and denser than the surrounding unwashed field tiles. The washed tile reads as a patch rather than an invisible repair.
Spot cleaning in place using a product like Folex Instant Carpet Spot Remover avoids the bloom problem entirely, because the fiber is cleaned without full submersion or heat-drying cycles that reset the pile lay.
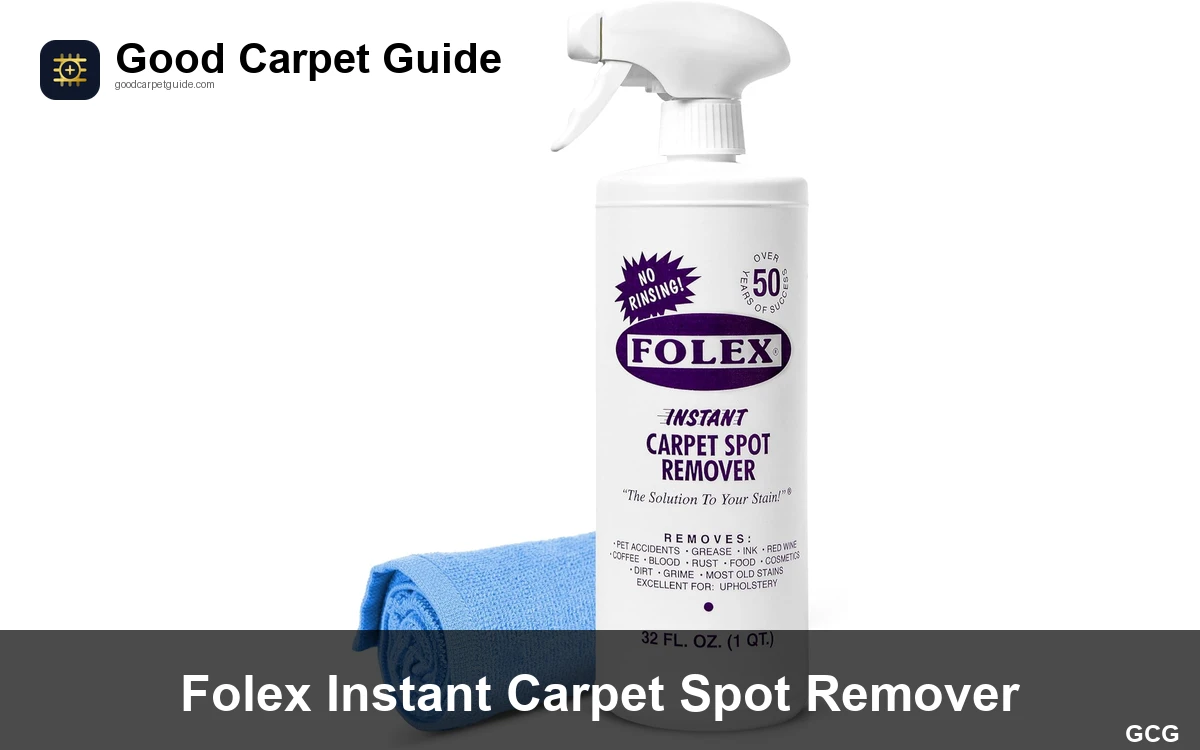
Folex Instant Carpet Spot Remover
Water-based, non-ionic surfactant stain remover rated for in-place carpet tile spot treatment without pile bloom or fiber damage from repeated washing cycles.
Check Price on Amazonwhat users report about seam breakdown under foot traffic
One office installation forum user documented that commercial-grade tiles in heavy-traffic corridors "broke down at the seams at all of the high traffic areas — fraying, flattening" within 5 to 7 years, producing a checkerboard grid pattern of flattened seam lines between intact tile centers. Residential corridor conditions produce similar seam degradation timelines when tile face weight falls below 20 oz/sq. yd., which corresponds to lighter-weight residential tile options in the $2.00 to $3.50/sq. ft. price band.
Seam integrity under sustained foot traffic depends on two variables: pile density at the tile edge (measured in oz/sq. yd. per Hexapod Tumble Drum Test protocol ASTM D5252) and whether a latex seam sealer was applied to the cut edges of perimeter tiles during installation. Cut tile edges without seam sealer unravel over 18 to 36 months of traffic contact.
what users report about peel-and-stick connector failures
FLOR's connector dot system (FLORdots) bonds tile-to-tile rather than tile-to-subfloor, and forum users in pet-owning households report that the FLORdot edges accumulate pet hair and dust along their perimeter, reducing contact adhesion over 12 to 24 months. Once adhesion drops, tiles in high-traffic paths migrate laterally, opening gaps at seams. FLOR's system remains well-suited for temporary installations and area rug configurations but is not the appropriate fastening method for permanent, high-traffic residential corridors.
what warranty fine print says about diy carpet tile installation
Carpet tile warranties contain DIY exclusions that most homeowners do not read before purchasing. Manufacturers advertise carpet tiles as the ideal DIY flooring product, but the warranty documents governing those same tiles explicitly limit coverage for self-installed work.
The standard warranty structure across major carpet tile brands operates as follows:
| Warranty Condition | Licensed Professional Install | DIY Install |
|---|---|---|
| Manufacturing defect — material replacement | Covered | Covered |
| Manufacturing defect — labor replacement cost | Covered | Excluded |
| Installation-related failure | Covered (if installer error) | Excluded |
| Stair installations | Excluded (most brands) | Excluded |
| Prorated refund after claim denial | Not applicable | Applies after year 1–2 |
When a manufacturing defect occurs in a DIY installation, the brand's liability is strictly limited to providing replacement tile material or a prorated material refund; the cost of professional labor to remove and reinstall is excluded from coverage. For a 500 sq. ft. basement install at $1.50 to $3.00/sq. ft. professional removal and reinstall labor, that exclusion represents a $750 to $1,500 out-of-pocket gap for the homeowner.
Stair installations face a separate categorical exclusion in most manufacturer warranties because carpet tiles experience extreme shear forces at each stair nose — forces that standard PSA adhesive systems are not rated to resist under repetitive impact loading. For stair applications, broadloom carpet installed over a best carpet for stairs guide with mechanical tackless strip fastening provides a structurally superior solution.
Installer Warning: Shaw officially discontinued its consumer-oriented Floorigami peel-and-stick product line in late 2023. Closeout stock appears through liquidators at $1.20 to $4.68/sq. ft., but purchasing discontinued dye lots eliminates the possibility of sourcing matching replacement tiles if sections are damaged. A clearance price on Floorigami closeout stock is not a bargain if the dye lot is exhausted and a 2-square-foot pet stain requires a visible patch in a mismatched color.
how much does carpet tile installation cost
Carpet tile material costs range from $2.00 to $15.00+ per sq. ft. depending on face weight, fiber type, and brand tier. Professional installation labor adds $1.00 to $3.00 per sq. ft., and the total installed cost for mid-range carpet tile runs $5.00 to $6.00 per sq. ft. — approximately 25% below the $7.50 to $8.00 per sq. ft. installed average for comparable broadloom carpet.
carpet tile material cost by brand
The following table presents verified retail and closeout material pricing for the primary carpet tile brands available to residential buyers, along with backing type and recommended application:
| Brand | Material Cost (per sq. ft.) | Backing System | Recommended Application |
|---|---|---|---|
| FLOR | $5.00 – $15.00+ | Polyurethane foam, FLORdot connectors | Area rug configs, temporary |
| Mohawk / Mohawk Home | $2.00 – $7.00 | EcoFlex recycled PET | Basements, playrooms, family rooms |
| Joy Carpets | $4.00 – $7.00 | StayTac non-adhesive integrated | Light commercial, residential open-plan |
| Shaw Floorigami (closeout) | $1.20 – $4.68 | EcoWorx thermoplastic (discontinued) | Liquidator stock only; dye lot risk |
| Tarkett Powerbond | $4.50 – $9.00+ | Powerbond integrated cushion backing | High-durability commercial, 55+ year claim |
Tarkett Powerbond's longevity claim of 55+ years originates from installer field reports in commercial environments with controlled maintenance cycles, not residential conditions. Residential carpet tile lifespan under standard household traffic with quarterly vacuuming runs 10 to 15 years before seam degradation and pile compaction require full replacement.
big box store vs local flooring dealer total cost
A Consumer Reports analysis of chain flooring store pricing found that advertised material prices at big box retailers run 30 to 50 percent below the all-in project cost when underlayment, installation labor, furniture moving, and disposal are itemized separately.
A real-project cost comparison for a 1,200 sq. ft. installation illustrates the gap:
- Big box chain (advertised $3.99/sq. ft. material): Material = $4,788 + $3.00/sq. ft. installation ($3,600) + $0.40/sq. ft. pad ($480) + $1.00/sq. ft. removal ($1,200) + disposal and furniture fees = $10,068 total with a 1-year labor warranty.
- Local flooring dealer (all-inclusive quote): $10,200 total ($8.50/sq. ft.) with a lifetime installation warranty included.
The all-in price gap between the chain and the local dealer in this case study was $132, but the local dealer's lifetime installation warranty covered re-stretching, seam repair, and adhesive failure callbacks at no additional labor cost.
Carpet tile waste factor runs 5% to 10%, compared to 15% to 20% for broadloom carpet constrained by fixed roll widths. On a 1,200 sq. ft. project, the waste differential translates to 60 to 120 sq. ft. of material savings, or $120 to $840 depending on the tile price point selected.
For homeowners evaluating flooring businesses and maintenance costs after installation, the are carpet cleaning businesses profitable guide provides context on professional cleaning service pricing structures and cleaning frequency recommendations by traffic level.
which carpet tile brands do professionals recommend
Professional flooring contractors cite four criteria when recommending carpet tile brands: backing integrity under adhesive systems, face weight relative to traffic category, moisture resistance in below-grade applications, and replacement tile availability over a 10+ year horizon.
Tarkett Powerbond receives the highest durability citations from commercial installers. One installer's forum claim that Powerbond "will last 55+ years" applies specifically to commercial environments with documented IICRC S100 maintenance protocols and controlled relative humidity, not to residential use without scheduled professional cleaning.
Mohawk's EcoFlex recycled PET backing performs well in below-grade residential applications because PET backing resists moisture absorption at a higher rate than standard polyurethane foam backings. Mohawk's 24x24 inch tile format provides sufficient mass that loose-lay installation remains stable without full-spread PSA, because tile weight and tight edge contact resist lateral migration under normal residential foot traffic.
Joy Carpets' StayTac backing eliminates the liquid adhesive step entirely through friction-based micro-adhesion, making Joy Carpets the lowest-risk tile system for homeowners installing over finished hardwood or luxury vinyl plank where PSA residue removal would be destructive.
For basement flooring specifically, the best carpet for basement guide compares carpet tile backing systems against floating vinyl plank and rubber tile alternatives across moisture, comfort, and longevity criteria.
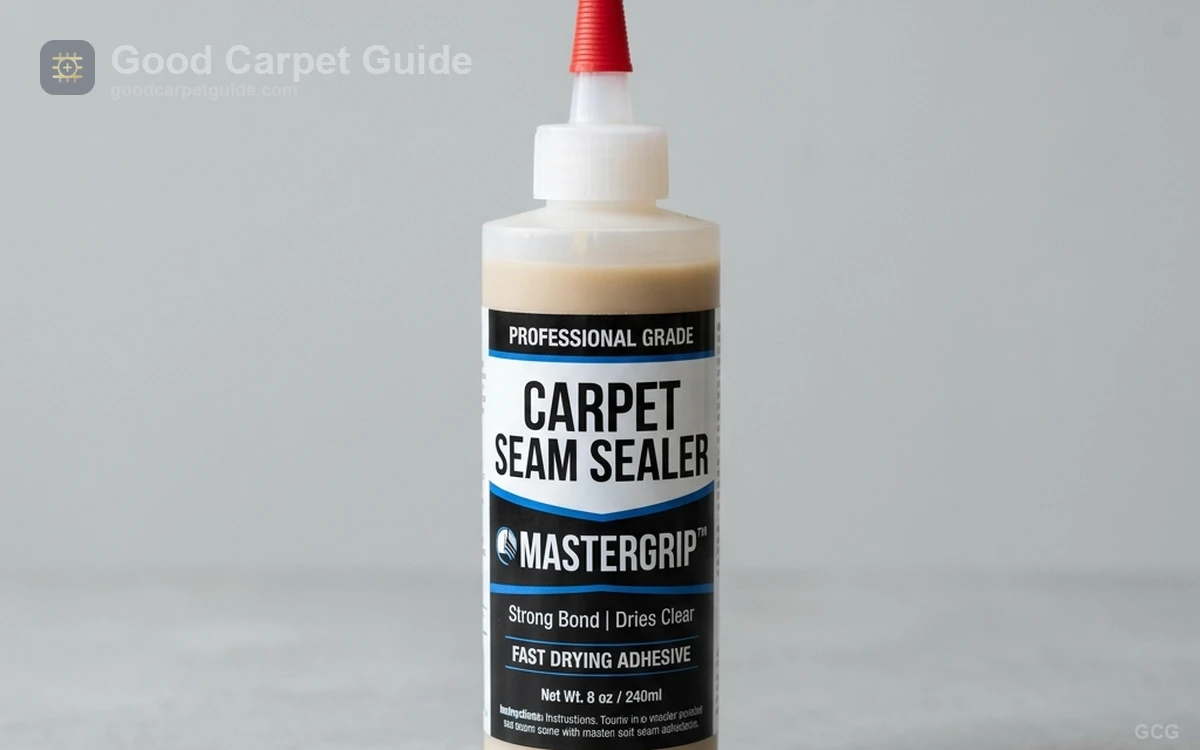
Roberts 8015 Universal Carpet Seam Sealer
Latex-based edge sealer applied to cut tile perimeter edges before installation; prevents fiber unraveling at seam lines under sustained foot traffic — the most under-used step in DIY carpet tile installations.
Check Price on Amazonwhat happens when carpet tile adhesive is applied incorrectly
Adhesive selection and application technique produce the two most destructive DIY failures I encounter in post-installation inspections. The correct adhesive for carpet tile is a pressure-sensitive adhesive (PSA) applied in a thin, uniform film using a 1/16-inch V-notch trowel. PSA bonds firmly under the weight of the tile and foot traffic, but releases cleanly when upward pull force is applied for tile replacement — preserving the modular advantage of the system.
The two catastrophic adhesive errors are:
- Permanent multipurpose carpet adhesive applied with a large-notch trowel: One documented Reddit case involved a homeowner spreading permanent multipurpose carpet glue with a 3/16-inch notch trowel to level floor imperfections. The wet adhesive contacted the face of the carpet fibers through the tile joints, dried as a permanent dark stain across the pile surface, and required an industrial stripping machine for removal. Permanent adhesive also eliminates the ability to replace individual tiles without destroying the subfloor surface.
- PSA applied in an excessively thick film: PSA applied too thick pools at the tile joints, wicks upward into the pile backing, and produces the same face-staining result as permanent adhesive. PSA applied in a thin film at roughly 150 to 200 sq. ft. per gallon coverage rate, per manufacturer technical data sheets, bonds correctly without pooling.
When carpet tile adhesive failure results in backing separation or delamination of the tile's face from its primary backing, the failure mode parallels the carpet delamination guide documentation on broadloom delamination — the same alkaline moisture chemistry degrades latex bonding in both product types.
frequently asked questions about carpet tile installation
Can carpet tiles be installed over existing carpet?
Carpet tiles cannot be installed over existing carpet under PSA or floating systems. Existing carpet compresses unevenly under tile weight, creating an unstable, non-planar base that causes tiles to rock, seams to open, and PSA bond to distribute unevenly. Remove existing broadloom carpet and dispose of the pad before carpet tile installation.
Do carpet tiles need underlayment?
Carpet tiles with integrated cushion backing (Tarkett Powerbond, FLOR) do not require separate underlayment. Carpet tiles with hard thermoplastic or PET backings (Mohawk, Shaw EcoWorx) benefit from a 1/8-inch felt underlayment on above-grade plywood subfloors for acoustic damping and thermal comfort, but felt underlayment must not be used under PSA systems on concrete, where it can trap moisture between layers.
How long do carpet tiles last in a residential setting?
Residential carpet tile lifespan under standard household traffic conditions runs 10 to 15 years before pile compaction, seam fraying, and backing deterioration require full replacement. High-traffic corridors with face weights below 20 oz/sq. yd. (ASTM D5252 Hexapod standard) show visible seam breakdown at 5 to 7 years. Tiles with face weights of 28 oz/sq. yd. or higher in nylon fiber (6,6 or type 6) maintain pile height and seam integrity for 12 to 15 years under normal residential maintenance.
Are carpet tiles good for basements?
Carpet tiles with moisture-resistant PET or thermoplastic backings (Mohawk EcoFlex, Shaw EcoWorx) perform adequately in above-slab basement conditions where ASTM F2170 RH testing confirms relative humidity at or below 75%. Wool carpet tiles are not appropriate for basements; wool fiber is highly susceptible to moth infestation in dark, below-grade environments. The best carpet for basement guide details the full moisture tolerance comparison across backing types.
What is the difference between residential and commercial carpet tiles?
Commercial carpet tiles carry face weights from 28 oz/sq. yd. to 40+ oz/sq. yd. and use dense, solution-dyed nylon or recycled nylon fiber rated for Class 1 critical radiant flux per ASTM E648. Residential carpet tiles range from 14 oz/sq. yd. to 28 oz/sq. yd. and prioritize softness and pattern variety over wear durability. Installing residential-grade carpet tile in a commercial-traffic environment (retail, office corridor) produces seam breakdown within 3 to 4 years.
declarative installation recommendations by use case
Carpet tile installation is appropriate, with conditions attached, across four primary residential use cases:
Finished basement with concrete slab: Use Mohawk EcoFlex or Tarkett Powerbond with a verified ASTM F2170 RH reading at or below 75%; apply PSA in a thin film using a 1/16-inch V-notch trowel; do not use wool tiles.
Home office or playroom over plywood subfloor: Joy Carpets StayTac backing requires no adhesive and allows fast removal for subfloor access; confirm subfloor flatness to 3/16 inch over 10 feet before placement.
High-design temporary area rug configuration: FLOR tiles at $5.00 to $15.00+/sq. ft. with FLORdot connectors serve temporary configurations and allow geometric pattern building; not appropriate for permanent high-traffic paths where FLORdot adhesion degrades.
Budget-conscious permanent install over flat, dry above-grade subfloor: Shaw Floorigami closeout stock at $1.20 to $4.68/sq. ft. delivers acceptable performance for above-grade rooms, but the discontinued dye lot status eliminates future matching replacement tiles — purchase a minimum 15% overage and store surplus tiles in flat, climate-controlled conditions for future spot replacement.